
 English
  Español
  Deutsch
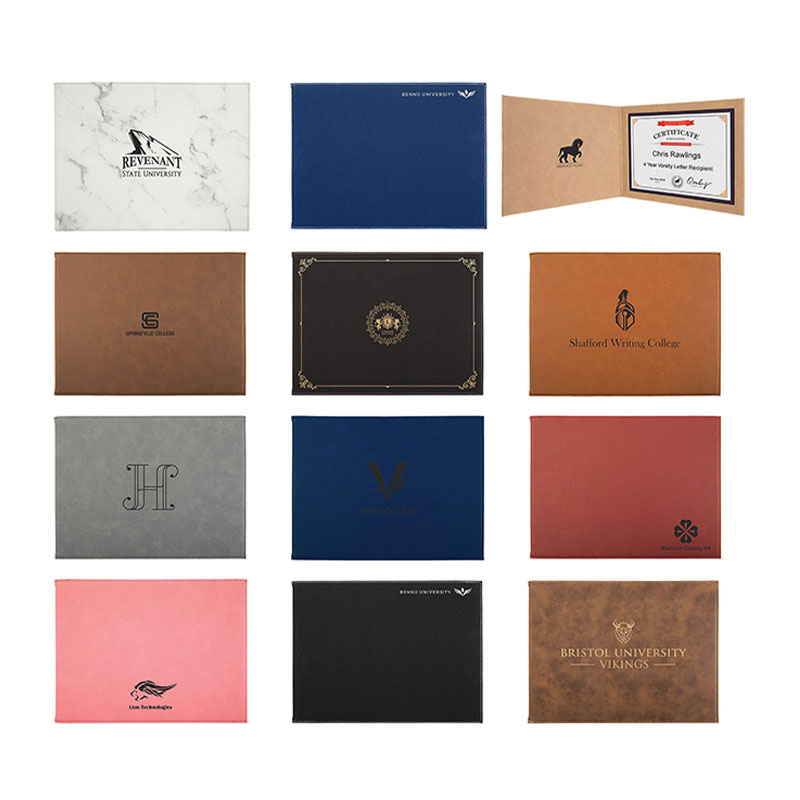
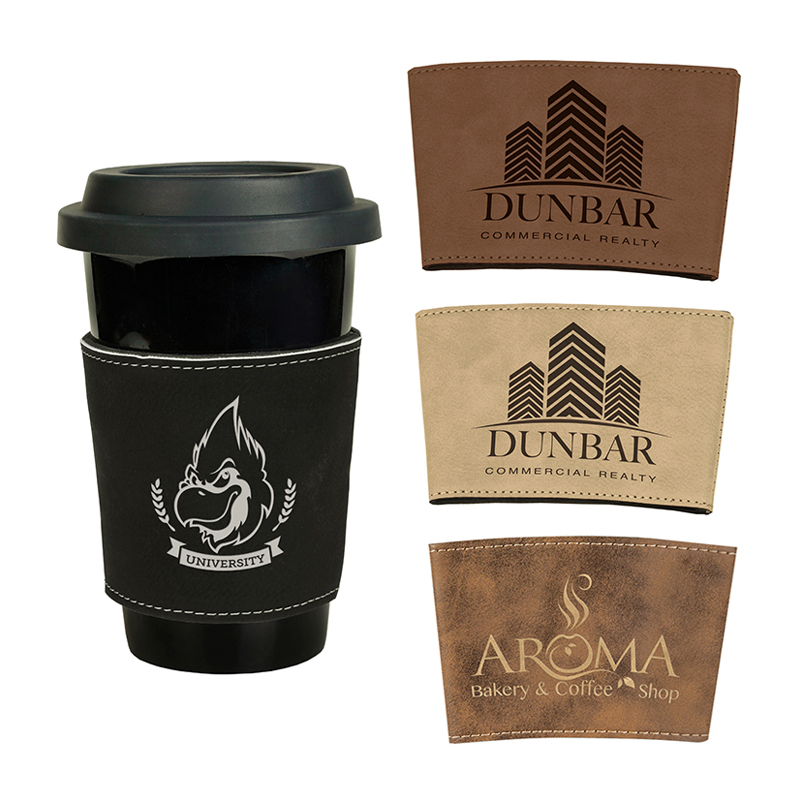
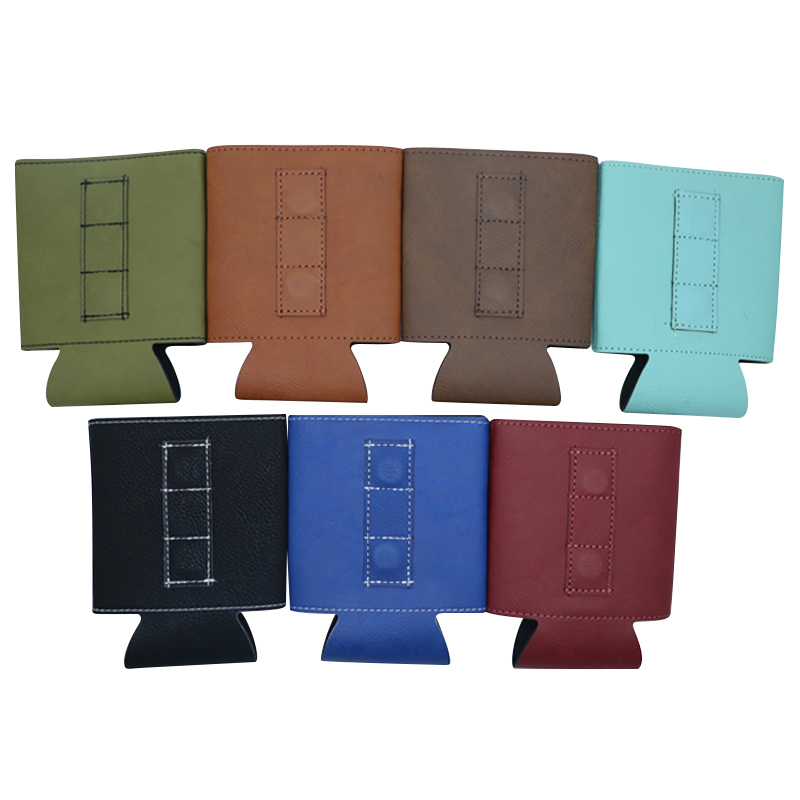
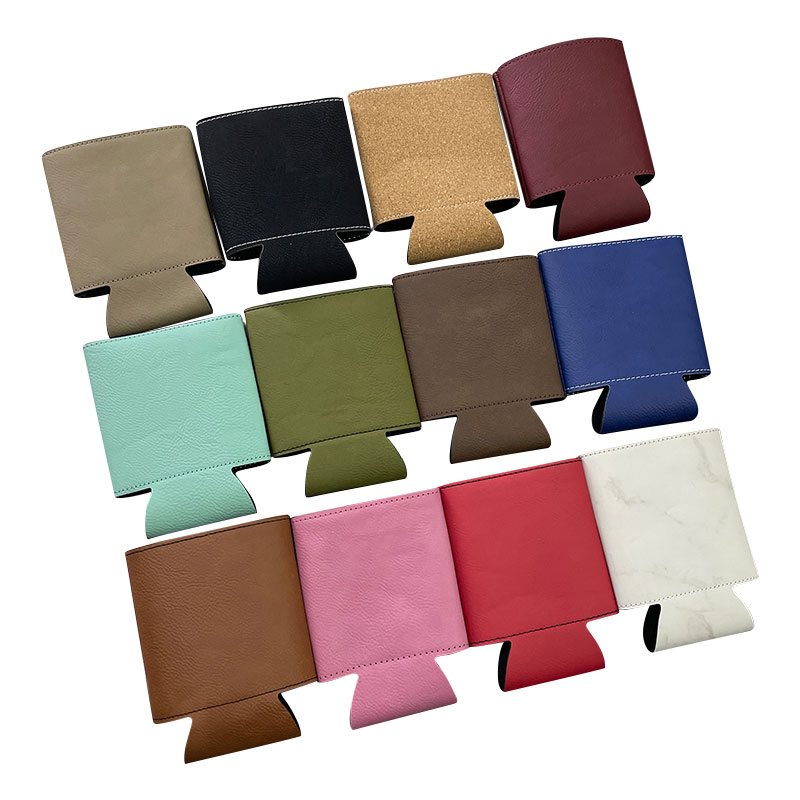
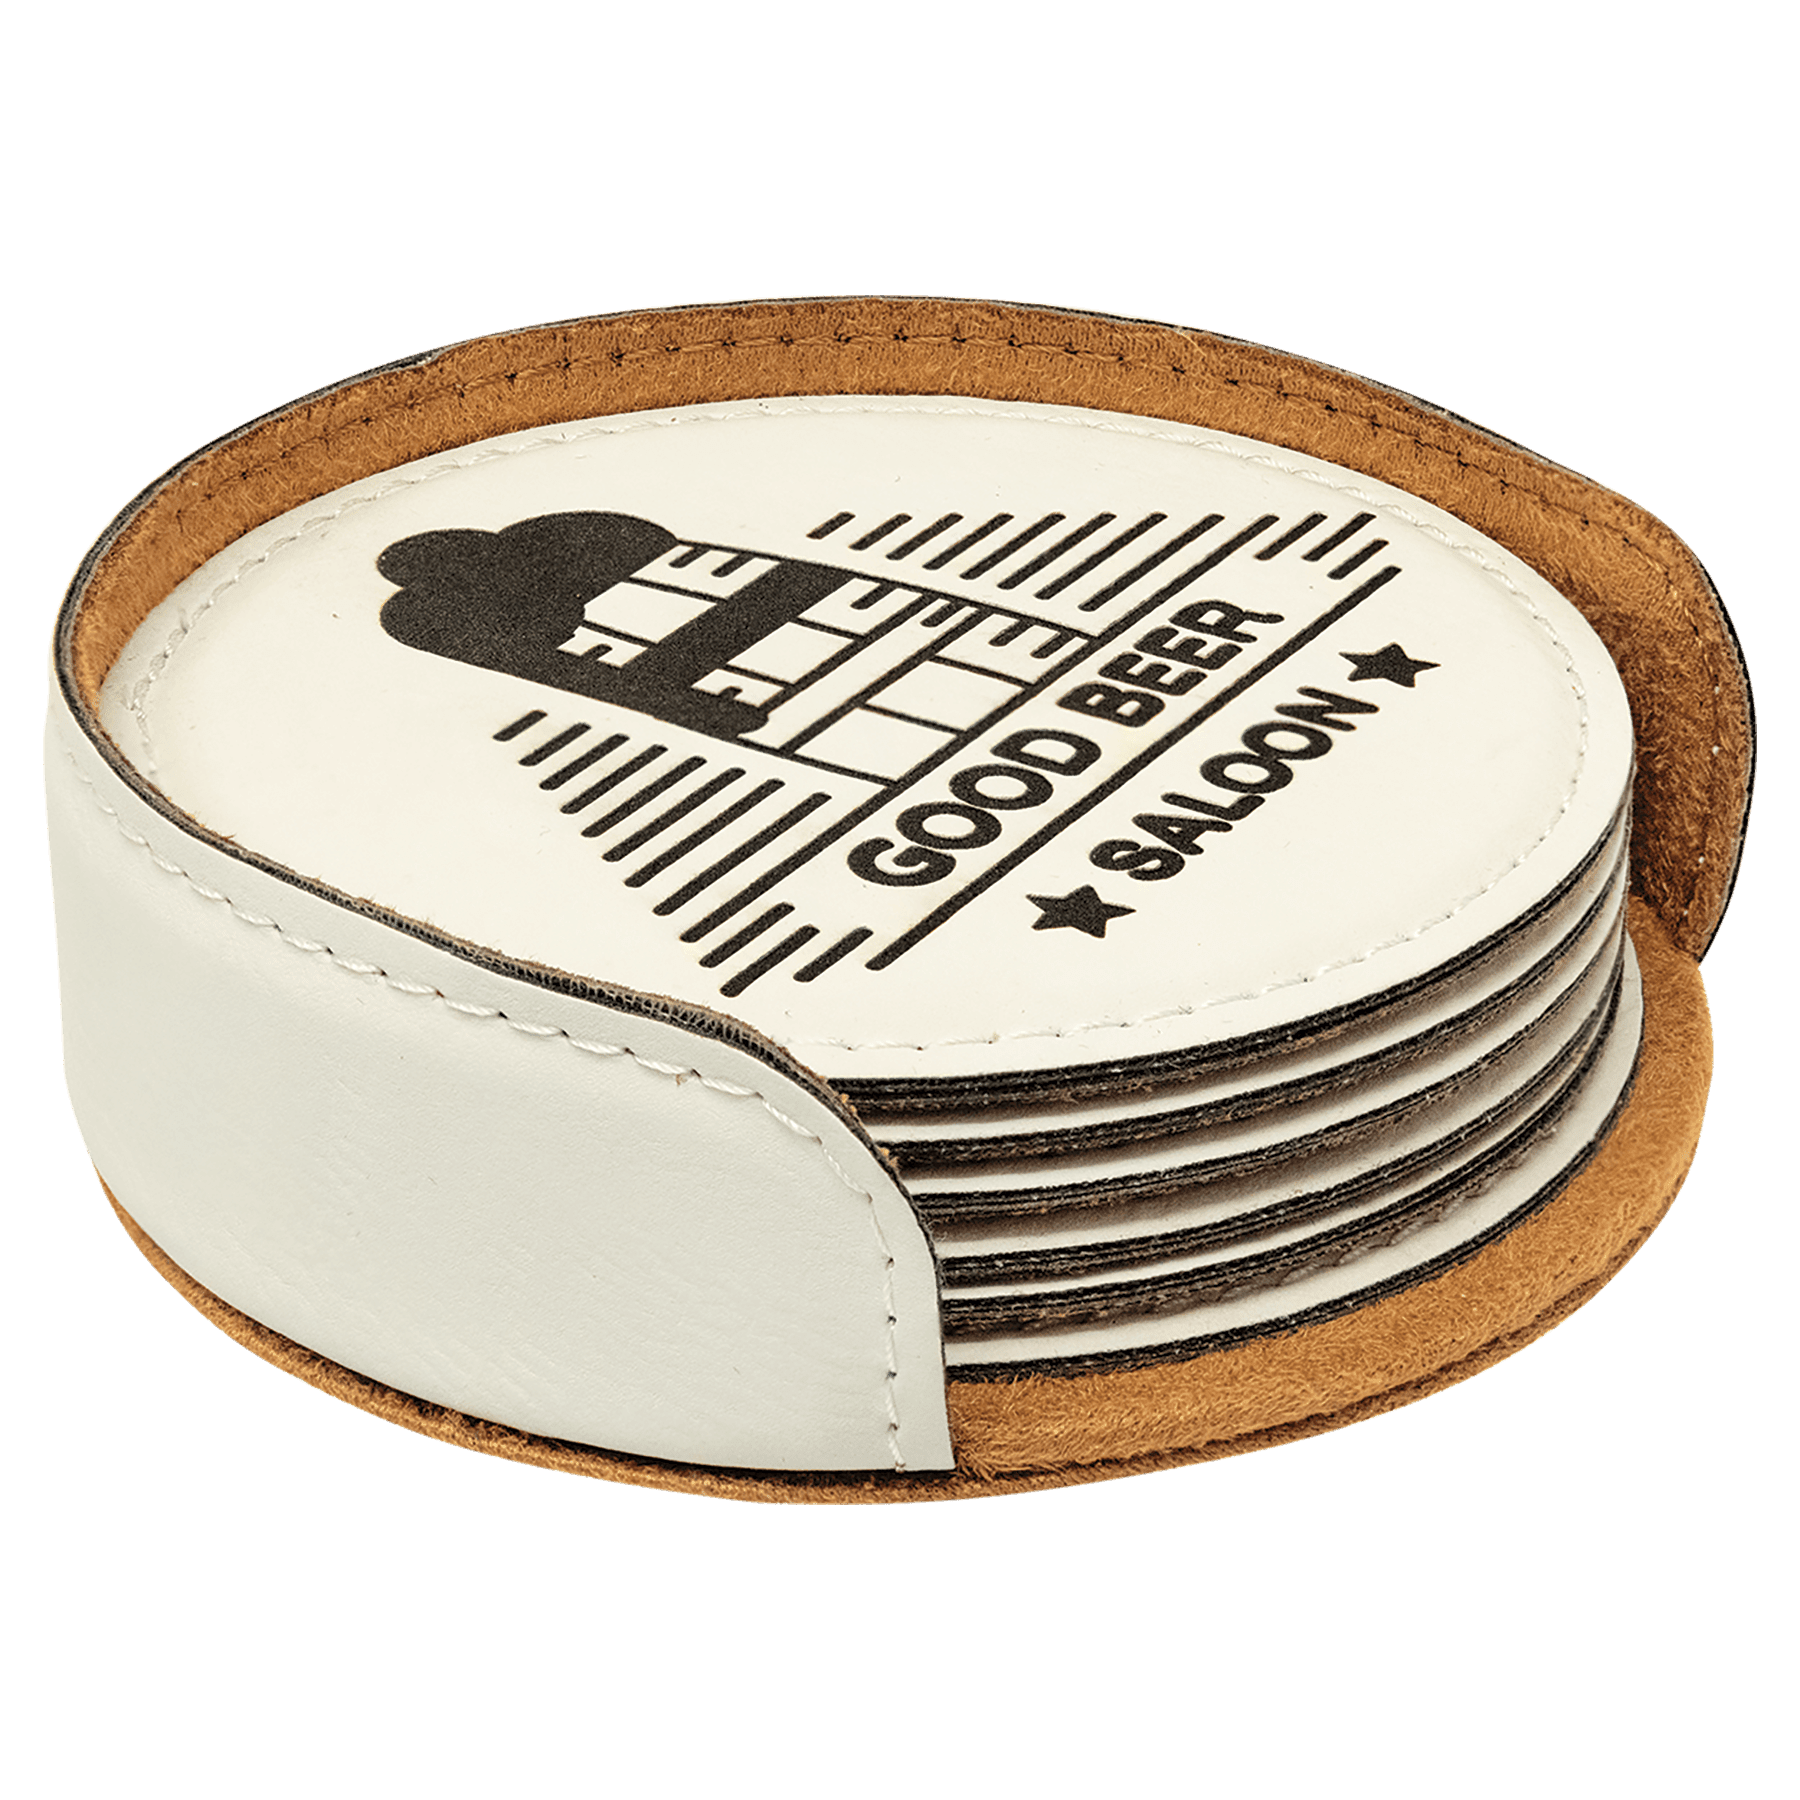
Introduction of Leatherette Pet Collars Briefly introduce leatherette pet collars and their growing popularity. Leatherette pet collars have emerged as a dominant force in the pet ...
Read More
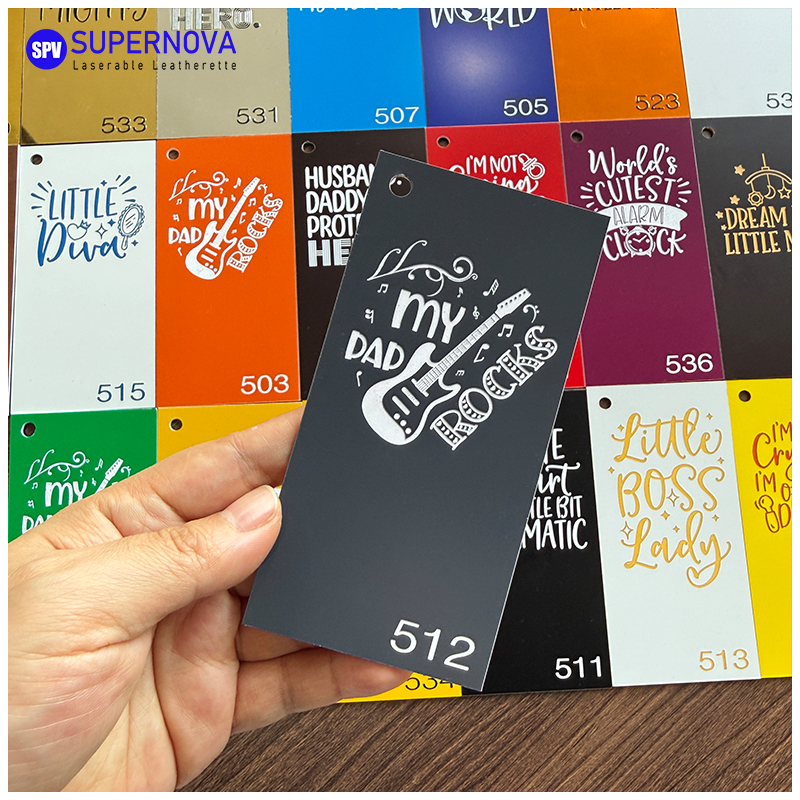
Laser Engraving Leather Patches: A Buyer's Guide to Blanks That Engrave Clean
2026-09-27Laser Engraving Leather Patches: The Blank Sets the Limit, Not the Preset
Most "laser problems" on leatherette are material problems in disguise. Here is how to choose patch blanks that mark cleanly on the first pass and still match on the tenth batch.
A workshop runs 400 three-inch round patches for a cap order. The file is proven, the machine is warm, and the first fifty pieces come off the bed with a crisp cream mark against a black surface. Then a new box of blanks is opened, and the same file produces a glossy grey mark with a soft halo around every letter. Nothing on the laser changed. The blank did.
That is the usual shape of this problem. When you are laser engraving leather patches at volume, the material sets the ceiling on quality long before speed and power do. A blank with an even pigment load, a consistent coating thickness and a flat backing engraves predictably for thousands of pieces. A blank without those properties keeps you at the machine, re-cutting test tiles that used to work.
Four properties decide how a blank behaves, and all four can be checked before you buy:
- Layer contrast, meaning the difference between the top surface and the core the laser exposes.
- Thickness consistency, usually given as a nominal figure such as 1.8 mm with a stated range.
- Surface texture, which decides how cleanly an engraved line reads at small sizes.
- Backing, with or without adhesive, and how that adhesive behaves under bed heat.
Where Engraved Patches Actually Go Wrong
Engraving on leatherette is a removal process, not a printing process. The beam burns or vaporises the top coloured layer so the layer beneath shows through. The brightest possible mark is therefore exactly the colour of the core, and the finest detail is limited by how cleanly that top layer lifts away.
Two failures account for most rejects. Under-engraving leaves a fuzzy grey residue that reads as dust rather than design, usually because the speed is set slightly too high. Over-engraving melts the polyurethane into a glossy, raised edge; the detail survives, but the surface looks scorched and the halo returns under raking light.
The third failure is quieter and more expensive: variation inside a single delivery. Pigment dispersion, coating weight and calender pressure are never perfectly even, and a tenth of a millimetre is enough to change line weight on 1 mm text. That is why two boxes of the same nominal product can demand two different settings.
The laser does not create contrast. It reveals the contrast the material already contains, along with every inconsistency, in the same pass.
Still weighing hide against synthetic? Our comparison of laser engraved leather versus faux leather patches covers the trade-offs; the short version is that consistency and cost favour the synthetic, while patina favours the hide.
Reading a Leatherette Spec Like a Production Manager
A spec sheet for laserable leatherette is short, and only a few lines of it matter. Thickness and its tolerance come first because they set focus. Layer structure comes second: single-layer material engraves to a tone-on-tone mark, while double-layer and triple-layer material gives a hard colour break. Adhesive comes third, since a peel-and-stick backing changes both how the blank sits on the bed and how it is applied afterwards.
The finish is the line most buyers skim and later regret. A pebbled lychee texture and a smooth matte vintage surface can share a colour and a thickness and still produce completely different marks.
| Surface finish | Engraving result | Suits | Watch for |
|---|---|---|---|
| Matte vintage | Dense, low-sheen mark | Cap and apparel patches | Light residue; brush before packing |
| Smooth faux leather | Uniform lines, crisp small text | Name badges, journal covers | Faint halo at high power |
| Lychee or pebbled | Speckled, slightly broken mark | Large lettering, silhouettes | Detail under 1.5 mm fills in |
| Metallic | Bright reveal, strong contrast | Awards, gift packaging | Shows fingerprints; keep power low |
| Holographic | Pattern layer lifts with the top | Novelty and event patches | Pattern loss outside the design |
| Denim or canvas | Matte, fibrous, soft edge | Casual apparel, tote tags | Loose fibres need a finishing brush |
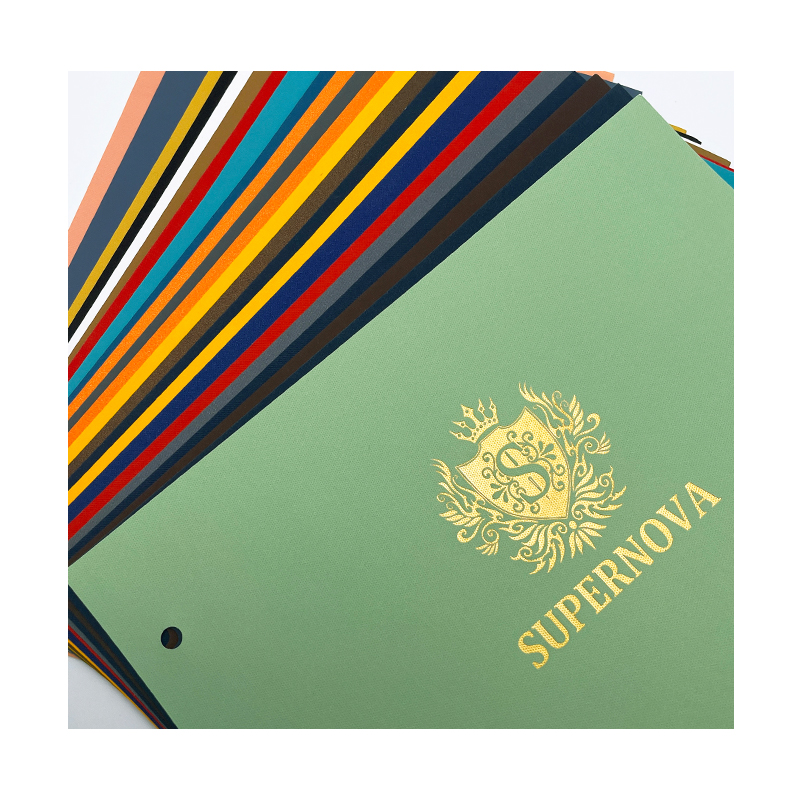
Because the core is what the end customer sees, colour is a technical decision rather than a finishing touch. The leatherette colour chart groups finishes by texture family, which makes base tones easier to compare before you request a physical swatch.
Sheet Stock or Pre-Cut Patches?
Buy pre-cut patches when the shape is standard and the volume is high. Buy sheet stock when the shape is yours.
Sheet stock at 1.8 mm, with or without adhesive, is the flexible option: you nest your own outlines, cut whatever silhouette the order needs, and keep one material on the shelf instead of a dozen die shapes. Nesting waste, edge finishing and the extra handling per piece stay with you.
Pre-cut patches move those costs upstream. They arrive at a fixed size, usually with a merrow border and an adhesive backing, so the operator loads the bed, engraves and packs. The trade-off is a shorter menu of shapes and a sensible minimum order per size.
Shapes, Sizes and Edge Finishes That Survive Daily Wear
Patch formats are standardised because the products they sit on are. The common set covers most orders:
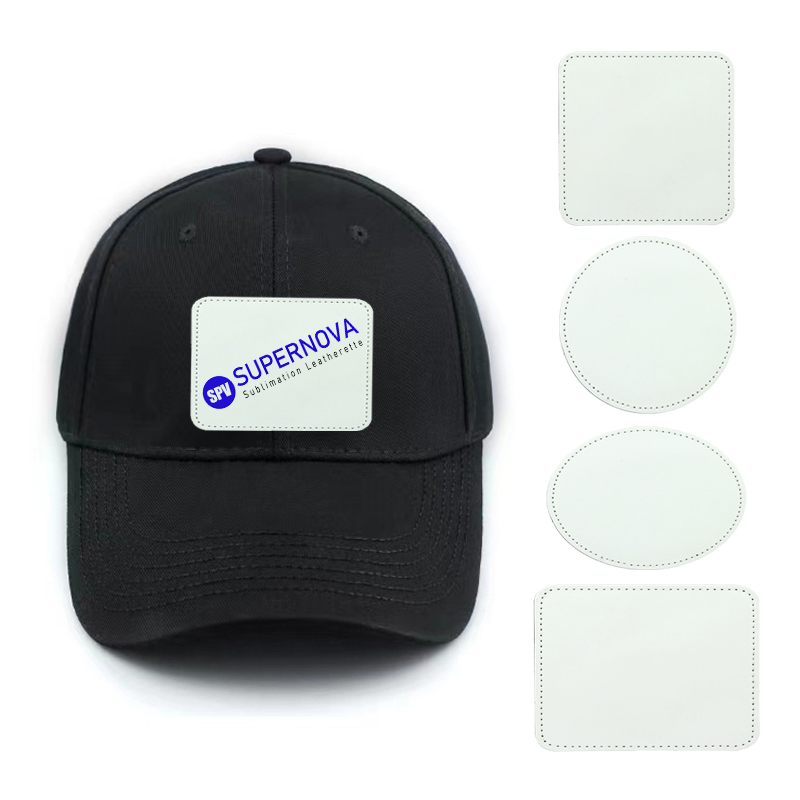
- 2-1/2 inch round for beanies and small cap fronts.
- 3 inch round for cap fronts and jacket panels.
- 3 x 2 inch and 3-1/2 x 2-1/2 inch rectangles for badges and luggage tags.
- 3 x 3 inch squares for gift packaging inserts.
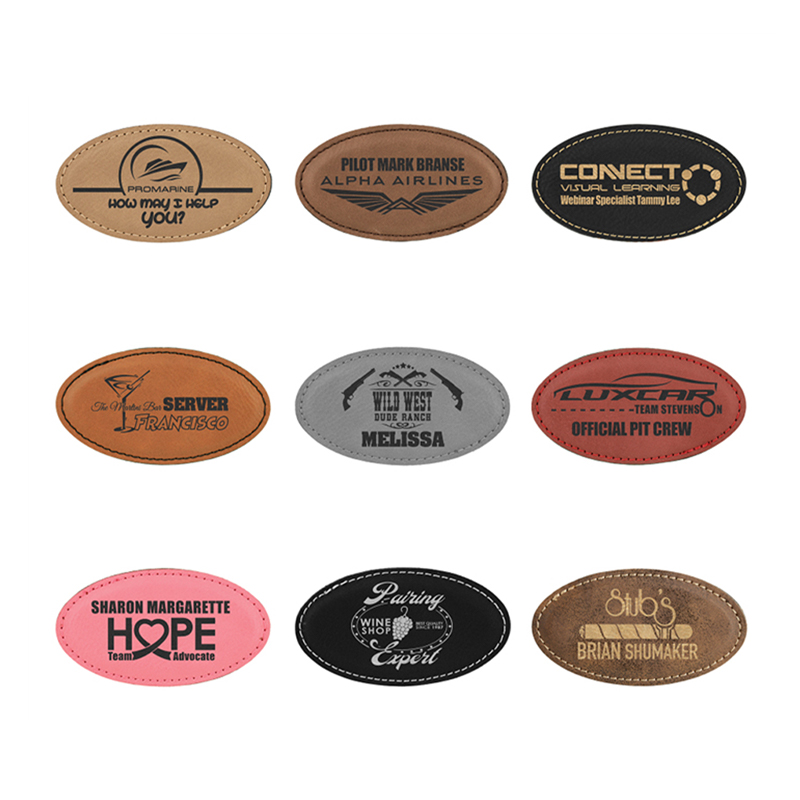
- Hexagon and oval shapes for pet collars, bag tags and awards.
The merrow edge deserves its own note. It is a stitched border that adds roughly a millimetre of thickness around the perimeter, lifting the engraved field into a clean frame. Keep artwork inside that frame; running the beam across the stitching scorches the thread and weakens the border.
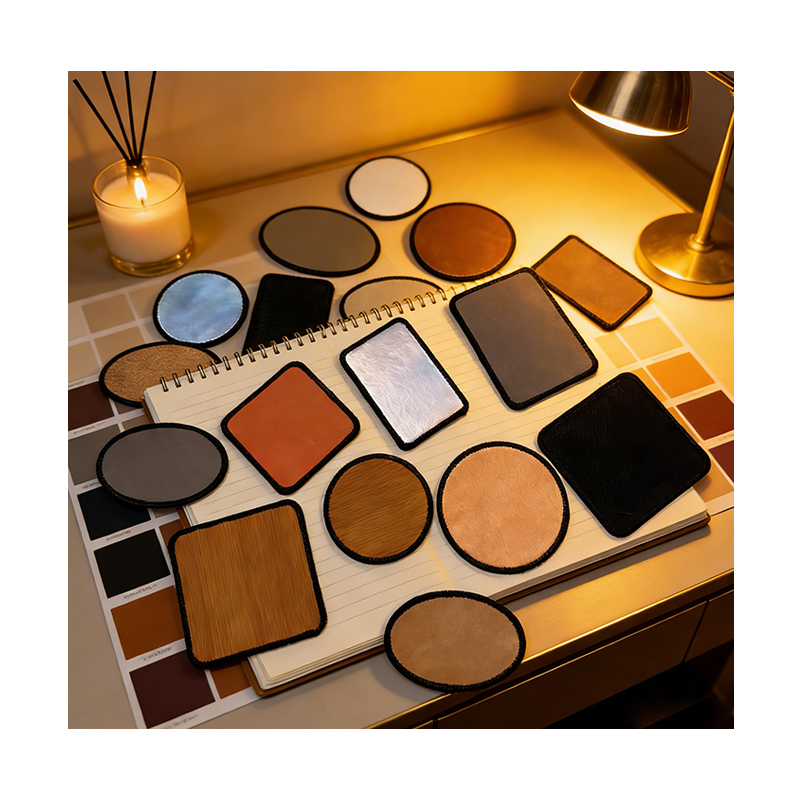 3" Round Laserable Leatherette Merrow Patch with AdhesiveRound Laserable Leatherette Merrow Patch with AdhesiveView Product →
Adhesive backing is the other variable. A peel-and-stick patch is faster to apply, but it adds a heat-sensitive layer to the stack, so confirm the adhesive is rated for the temperature the bed reaches and engrave the patch flat rather than pre-applied to a curve.
Setting Up the Laser: Build a Test Matrix, Not a Preset
Every setting shared online arrives with a wattage, a lens, a material and a room temperature attached to it. A figure quoted for a 5.5 W diode module at 400 mm per minute tells you where someone else started, not where your machine will finish.
Run a 3 x 3 grid before production: three speeds against three power levels, everything else fixed. Mark the back of each tile with its settings, engrave 1 mm text, a solid fill and a hairline, then keep the tile that shows full removal with no gloss. That tile becomes your reference for the batch.
Focus and air assist do as much work as power. Consistent focus depends on consistent thickness, which is why a stated tolerance matters. Air assist clears the vapour that would otherwise settle back as a grey film, and on textured surfaces a low-tack transfer tape keeps pebbled areas free of residue.
Confirm the blank is PVC-free before it goes on the bed. PVC-based faux leather releases hydrogen chloride during laser processing, which attacks optics, corrodes the machine and is a genuine respiratory hazard in a poorly ventilated room.
Where Engraved Patch Blanks Earn Their Money
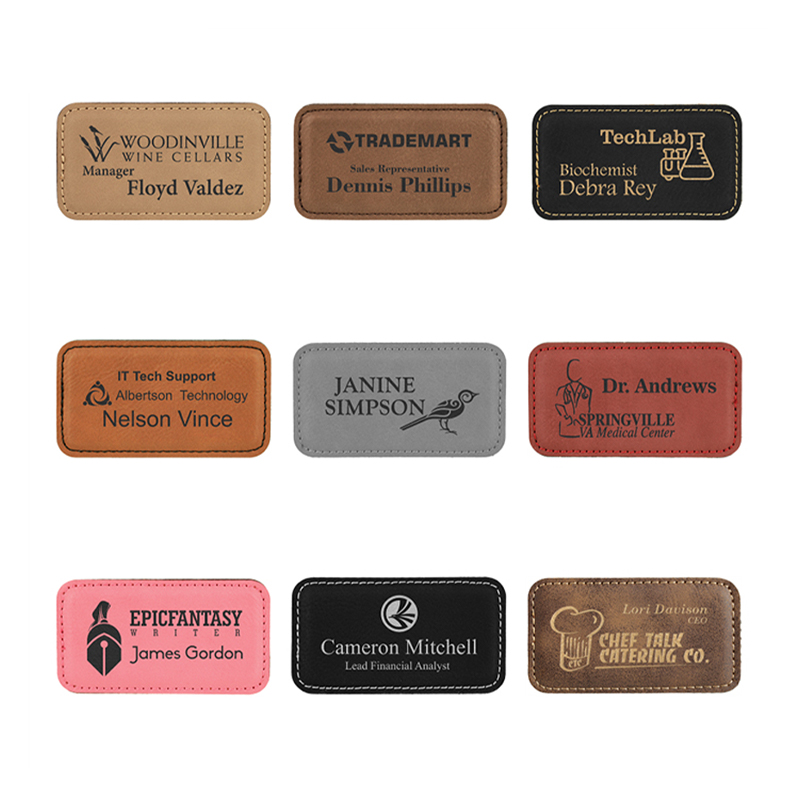
The same blank serves several markets, and format usually decides which one. Caps and beanies take round and small rectangular patches. Name badges take rectangles, where a laserable blank keeps small text crisp at badge sizes. Journals and portfolios use the same material in larger sheets, engraved with a monogram or a logo.
Away from apparel, engraved leatherette turns up on coasters, luggage tags, golf bag tags, pet collars, keychains and gift-box lids. The sales argument is identical in each case: the mark is permanent, it cannot peel away like a printed transfer, and it survives washing and handling without fading.
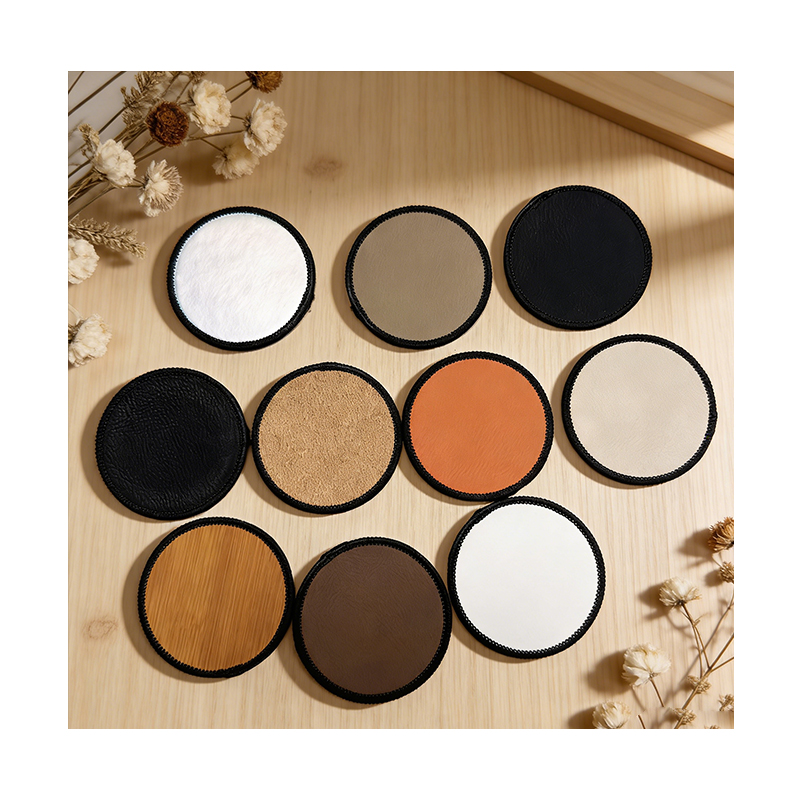 3" x 2" Rectangle Laserable Leatherette Merrow Patch with AdhesiveRectangle Laserable Leatherette Merrow Patch with AdhesiveView Product →
That durability has a design consequence. Because the mark is cut into the material rather than laid on top of it, gradients and photographs do not translate; line art, lettering and silhouettes do. They read best when the engraving stays inside the patch frame with a little breathing room at the edges.
What to Confirm Before the First Production Run
A short checklist removes almost all of the risk from a first order:
- A written PVC-free statement for the exact product code, not the product family.
- A thickness tolerance for the batch, and whether the nominal figure includes the adhesive layer.
- The core colour the laser will expose, sampled in daylight rather than judged from a screen.
- The adhesive specification and its behaviour at engraving-bed temperature.
- Border options, the width of the merrow edge, and how much of the perimeter is unusable for engraving.
- A physical sample cut from production stock, so you can run a test tile before committing to a quantity.
Keep a golden sample from every approved batch. When a new delivery lands, engrave one tile with the reference settings and compare the two in daylight. The difference shows up in seconds, long before a customer sees it.
None of these checks takes more than an afternoon, and all of them happen before the file is loaded. Once the blank is right, laser engraving leather patches becomes a repeatable process instead of a negotiation with the material, which is the outcome every production manager is after.
PREV: Laserable Leatherette Wholesale: A Buyer's Guide to Sheets, Patches, and Blanks
NEXT: Laser Engraver for Leather Patches: Machine Buying, Settings, and Blanks
Contact Us
Your email address will not be published. Required field are marked*
Blog
-
-
Why Choose Laser Engraved Leather Patches for High-Quality Custom Designs? When it comes to custom designs for fashion, branding, and accessories, the materials you choose play a c...
Read More -
Introduction to Laserable Leatherette What Is Laserable Leatherette? Laserable leatherette refers to a type of leatherette material engineered to respond well to laser processing, ...
Read More -
Unveiling the World of Leatherette Coasters: Beyond Basic Tableware Defining the Coaster: An Essential Home Accessory Before delving into the unique advantages of Leatherette Coast...
Read More

-
86-15851089634

-
[email protected]

-
Room 3110, Building 6, Jinrongcheng,5 Shiji Avenue, Yandu District,Yancheng City, Jiangsu Province, China

-
109#, Team 1, Longnian, Nanyang, Tinghu, Yancheng, Jiangsu, China, Zip code: 224000
- QUICK LINKS

