
 English
  Español
  Deutsch
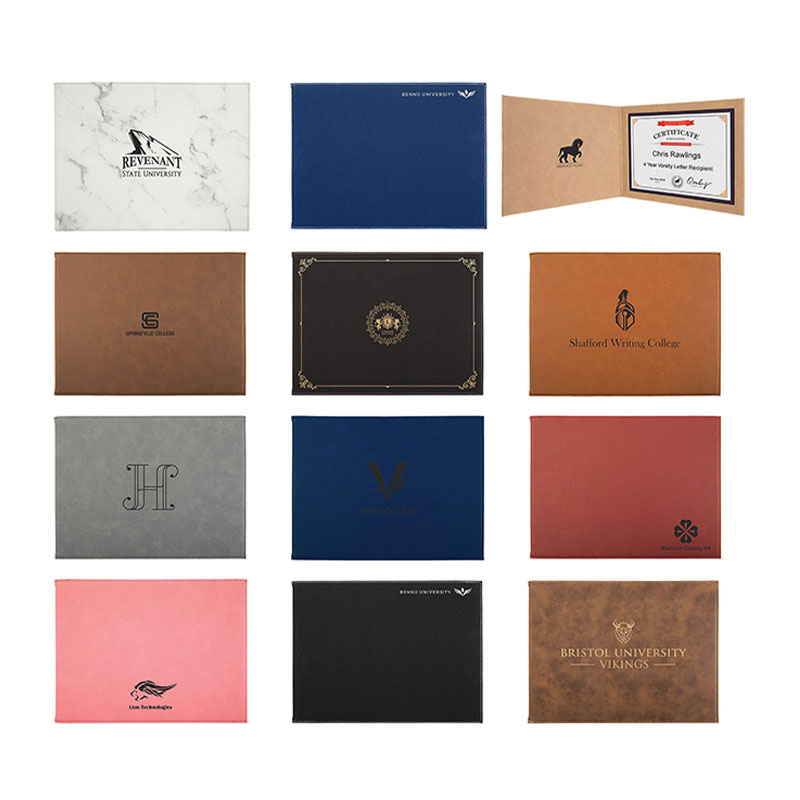
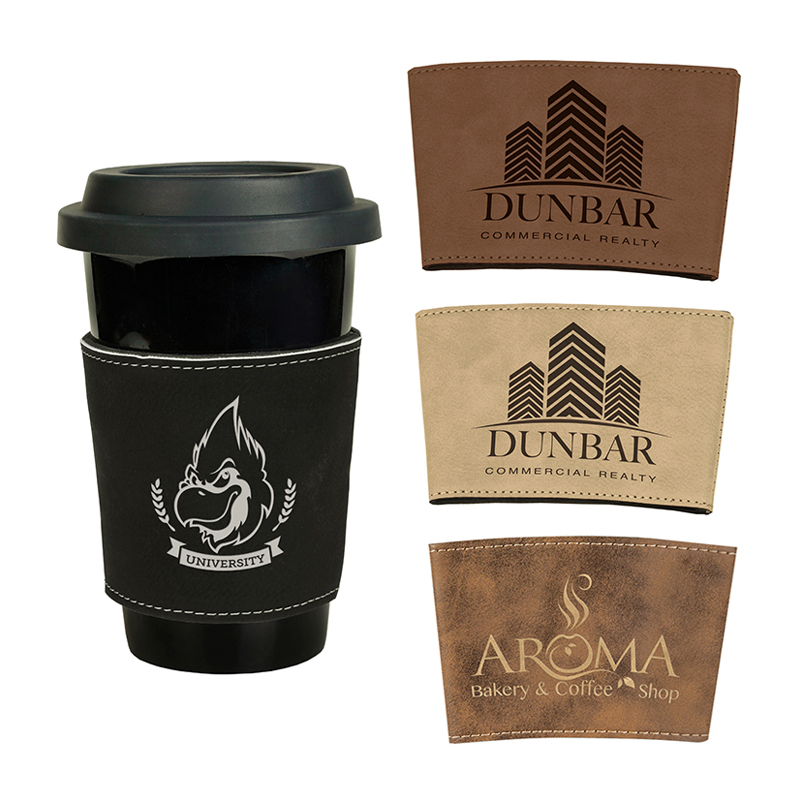
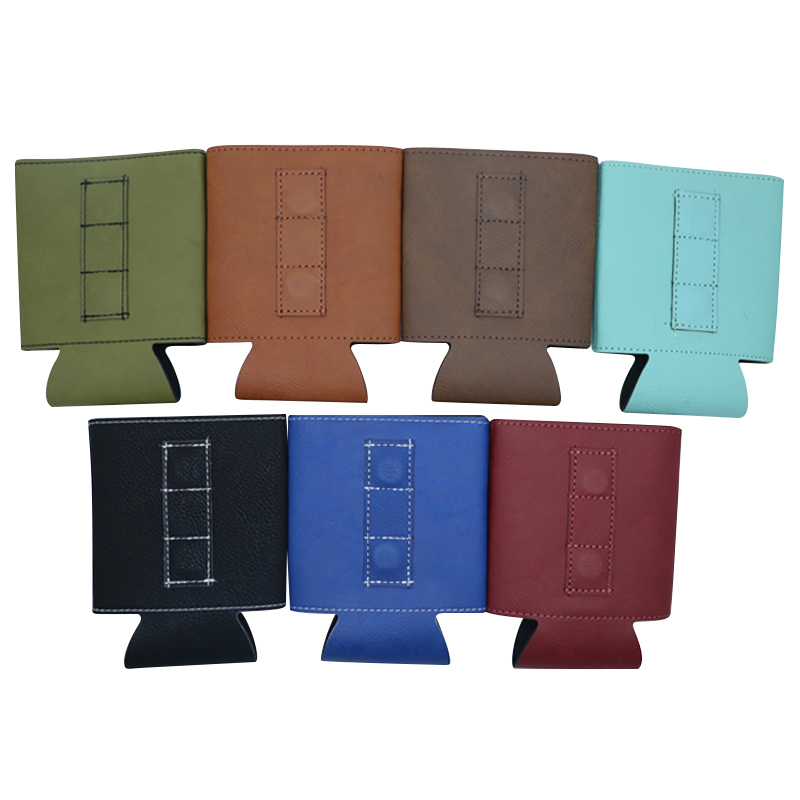
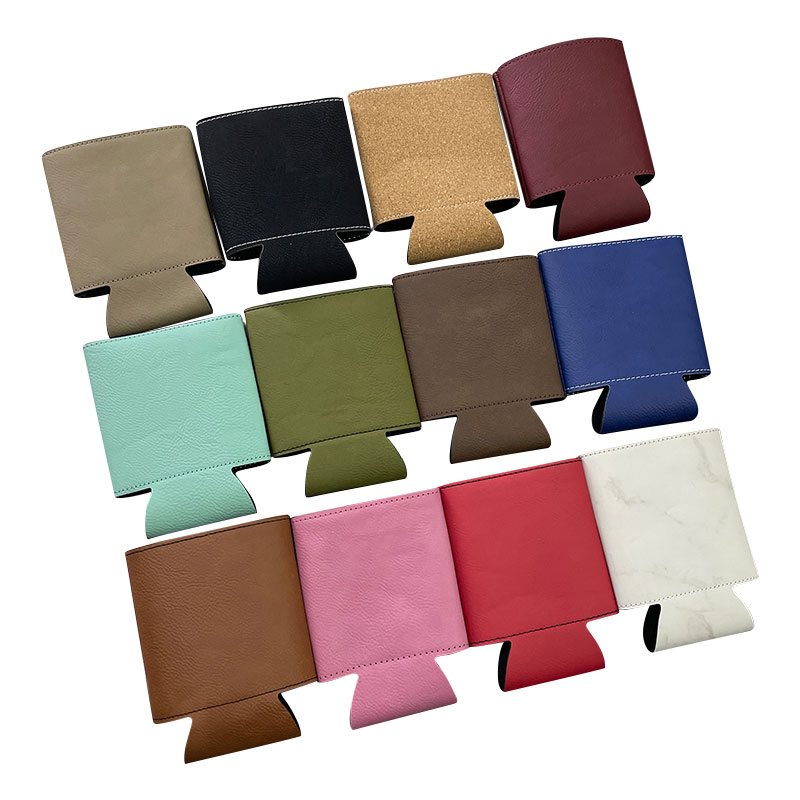
Introduction of Leatherette Pet Collars Briefly introduce leatherette pet collars and their growing popularity. Leatherette pet collars have emerged as a dominant force in the pet ...
Read More
Laser Engraver for Leather Patches: Machine Buying, Settings, and Blanks
2026-09-21Laser Engraver for Leather Patches: Choose the Blank First, Then the Beam
Watch someone run their first batch of hat patches and the failure usually shows up in the same place. The machine finishes the job, the artwork is there, but the contrast is weak, the edges are browned, and the top layer of colour has smeared along the outline of the lettering instead of cutting cleanly away from it.
Here is the conclusion up front: for leather patches, your ceiling on engraving quality is set by the consistency of the blank, not by the wattage of the laser head. A well-maintained 20 W diode machine working a single-colour PU leatherette patch will turn out a clean two-tone result again and again, while a badly focused 60 W CO2 machine on a thick, unevenly tanned hide can ruin three pieces in a row. The machine governs speed and cutting power. The blank governs contrast, edge quality, and whether the patch still looks right after three months on a customer's cap.
What a Laser Actually Does to Leather and Faux Leather
Physically, laser engraving is a controlled local burn. How that burn behaves depends entirely on the material, and that difference explains why some workshops ship reliably while others fight the same problem every week.
On a through-dyed hide, all you can do is burn deeper. Contrast comes from charring, and charring varies with humidity, with how evenly that particular hide was tanned, and with which part of the animal it came from. It is the most variable approach and the most wasteful one. On a layered leatherette patch, where a pigmented top layer is bonded over a contrasting core, the beam removes the top layer and exposes the colour underneath. The result becomes geometric rather than chemical. Your contrast stops depending on a cow and starts depending on manufacturing tolerance.
When a finished patch shows fuzzy edges and a muddy logo, the instinct is to blame the machine. More often, a tighter blank fixes it faster than another afternoon of parameter tuning.
Materials to Rule Out Before You Switch the Laser On
Spending on wattage and then discovering the material was never going to work is more common than most buyers expect. Take these off the list before the beam touches them:
- Chrome-tanned leather. Chromium salts under laser heat produce toxic fumes and chromium-bearing dust. That is what the recurring "don't use chrome tanned" advice in the forums is about. Only industrial-grade extraction should ever go near it, and the residue contaminates lenses and belts.
- PVC-based synthetics and heavily plastic-coated PU. PVC releases hydrogen chloride, which attacks lens coatings and mirrors, and does nothing good for the operator.
- Heavily oiled or waxed leather. Oil and wax ignite, sometimes at power levels you would otherwise consider safe.
What remains is workable. Vegetable-tanned leather engraves, but with naturally low contrast and darkened edges. Leatherette built for laser work is the practical choice, because the top layer and the core are selected as a pair: a dark face over a pale core gives you lettering that reads with no post-processing at all.
Before you cut: if you cannot confirm what a hide or synthetic was tanned or bonded with, treat it as an extraction problem, not a settings problem. Fumes are the one cost that never shows up on the invoice until it does.
Why Blank Specifications Move the Result More Than Machine Settings
Three specifications decide what comes off the bed, and none of them are adjustable from the control panel.
- Top-layer to core contrast. The wider the gap between the surface colour and the material underneath, the sharper the lettering reads. A dark surface over a pale core is the classic combination for a reason.
- Thickness. Sheet stock for patches, coasters and covers generally sits around 1.8 mm. Thinner material cuts faster but wrinkles under a merrow edge or a stitched seam.
- Adhesive backing. Self-adhesive blanks remove an assembly step, but the beam has to cut through the adhesive layer in one pass. A partial cut lets the glue re-seal across the kerf, and the patch tears when you peel it.
Practical note: when you buy sheet stock rather than finished patches, order two or three thicknesses in the same colourway and run them on the same file. The difference in edge quality between 1.8 mm and a thinner sheet shows up immediately, and it is cheaper to learn that on samples than on a production run.
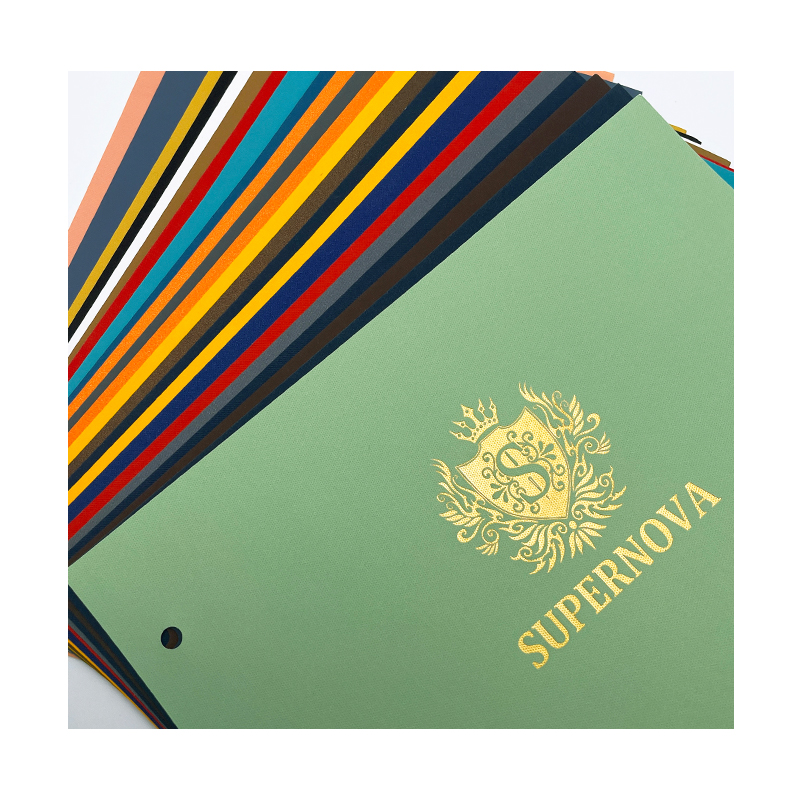
When you cut your own shapes, laserable leatherette sheet stock ships with or without adhesive backing, and it is worth reviewing the range of leatherette colours and textures before you commit to a run, because both the shade and the surface grain change how crisply an engraved mark reads, and you want to know that before the order goes in rather than after.
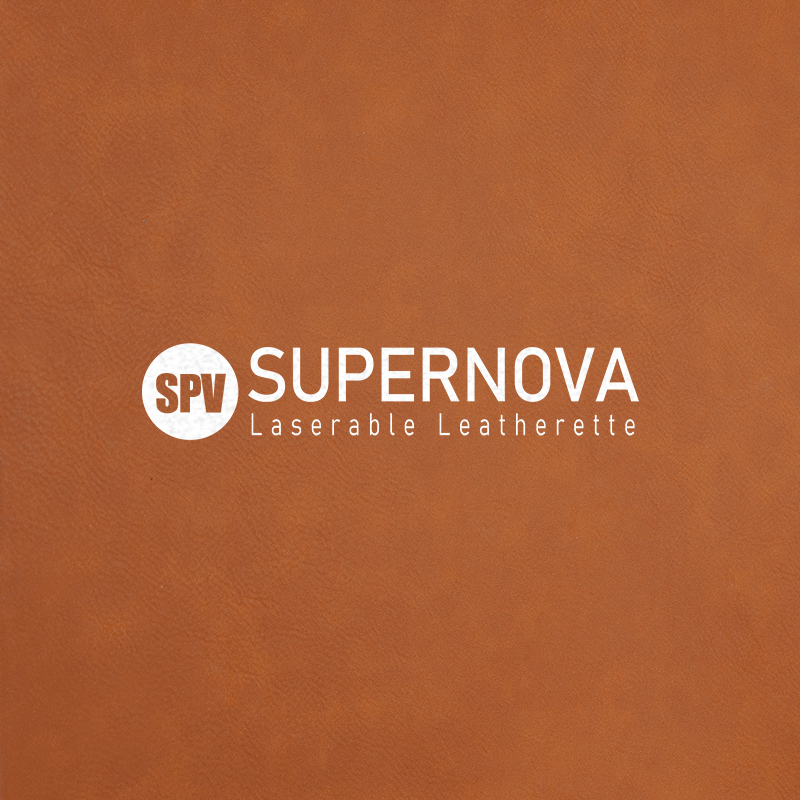 laserable leatherette sheets with adhesive /without adhesiveLaserable Leatherette Sheet StockView Product →
Buying the patch finished instead of cutting your own removes two production steps: the shape arrives cut, the border arrives stitched, and all you do is engrave. Whether that engraving survives a customer's laundry cycle is a separate question, and there is a detailed look at how laserable leatherette patches hold up to washing, ironing and abrasion if a buyer asks you to prove it.
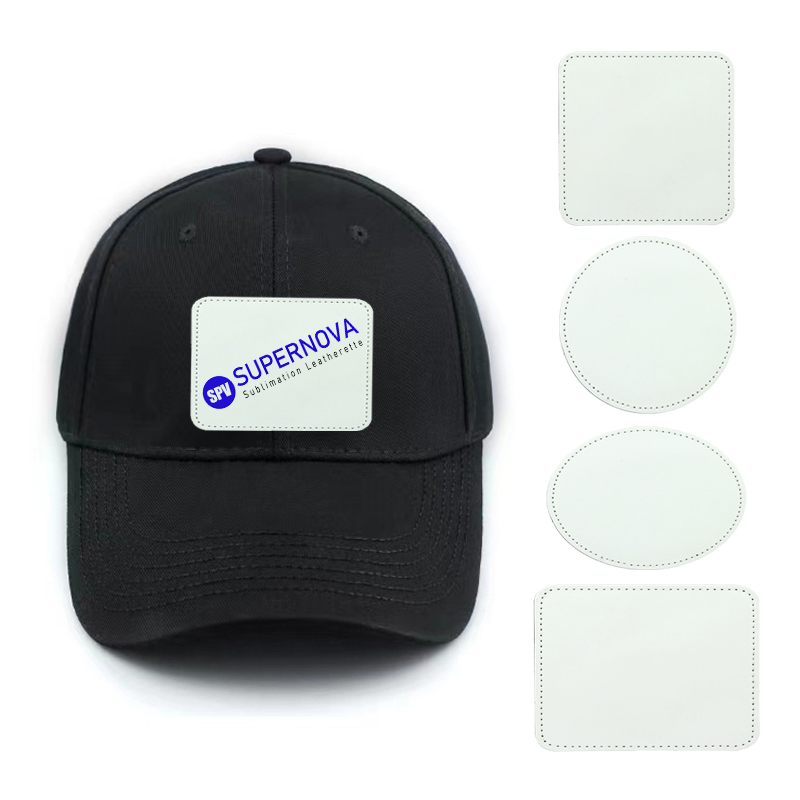
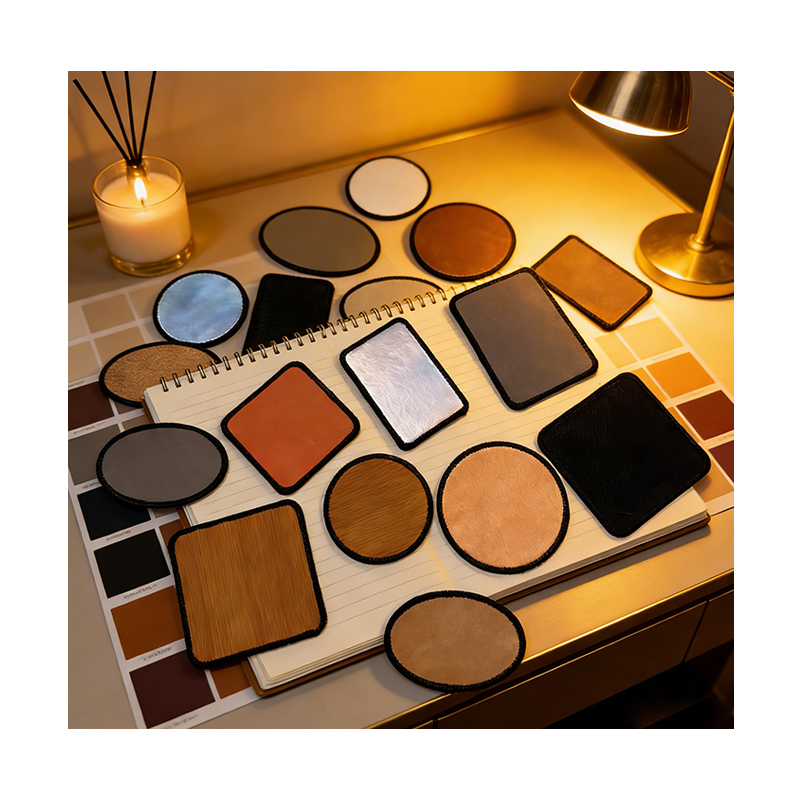 3" Round Laserable Leatherette Merrow Patch with AdhesiveRound Laserable Leatherette Merrow Patch with AdhesiveView Product →
Machine Specifications That Decide Patch Quality
Patch work concentrates on two machine architectures, and both can do the job. What separates them is which class of work each one is suited to, and which specifications are worth paying for.
| Machine type | Typical power | Best suited to | Main limitation |
|---|---|---|---|
| Diode laser | 10 to 20 W | Small batches, single-patch engraving, cap-front logos, fine lettering | Slow cutting; below 20 W, 1.8 mm adhesive-backed leatherette usually needs multiple passes |
| CO2 laser | 40 to 60 W | Full-sheet nesting, batch cutting, single-pass cutting of adhesive sheets, trimming stitched patches | Larger spot size, so very fine serif type and small lettering can fill in; needs real extraction |
| Fiber laser | 20 to 50 W | Marking metals and some engineering plastics | Not designed for leather or PU leatherette; it typically scorches organic material instead of producing a clean contrast |
Working area is usually the first bottleneck you hit in production. A small bed will not hold a nested layout of three-inch round patches, and that caps your hourly output no matter how good the optics are. If your batch sizes are growing, look at the bed dimensions before you look at the power rating.
Build a Test Matrix Before You Commit to a Run
Whatever the manual claims, start with one test sheet and one nested grid covering a range of power and speed combinations. What you are looking for is two specific things: the setting that cuts lettering cleanly without a smeared halo, and the setting one step above that which cuts through the material without scorching it.
- Set your baseline power and speed, then bracket it by roughly ten per cent in both directions.
- Include two type sizes and one hairline in the same test file so you can see which combination resolves the smallest feature.
- Test under your actual factory conditions. Ventilation, room humidity and how long the tube has been running all shift the result.
- Print the winning settings and tape them to the machine. The second operator guessing on their own is how a good parameter set dies.
Two traps worth naming: focus first, then test parameters, because being one millimetre out of focus can turn a clean cut into a smeared one. And keep air assist moderate on thin material, or light patches will shift on the bed mid-job, which is especially likely with stacked adhesive-backed sheets.
Beyond Leather: Acrylic Patches on the Same Cap
When a customer wants a harder, flatter patch, or a colour that leatherette cannot deliver, the same workflow extends to laserable acrylic sheet. Acrylic cuts with a clean, non-charred edge, engraves to a frosted white that reads clearly against a coloured face, and is available in single-layer, dual-layer and trilayer constructions so one cut file can produce several colour combinations. The engraving mechanism is different, so power and speed need to be retested, but your cutting files, jigs and extraction plan carry over almost unchanged.
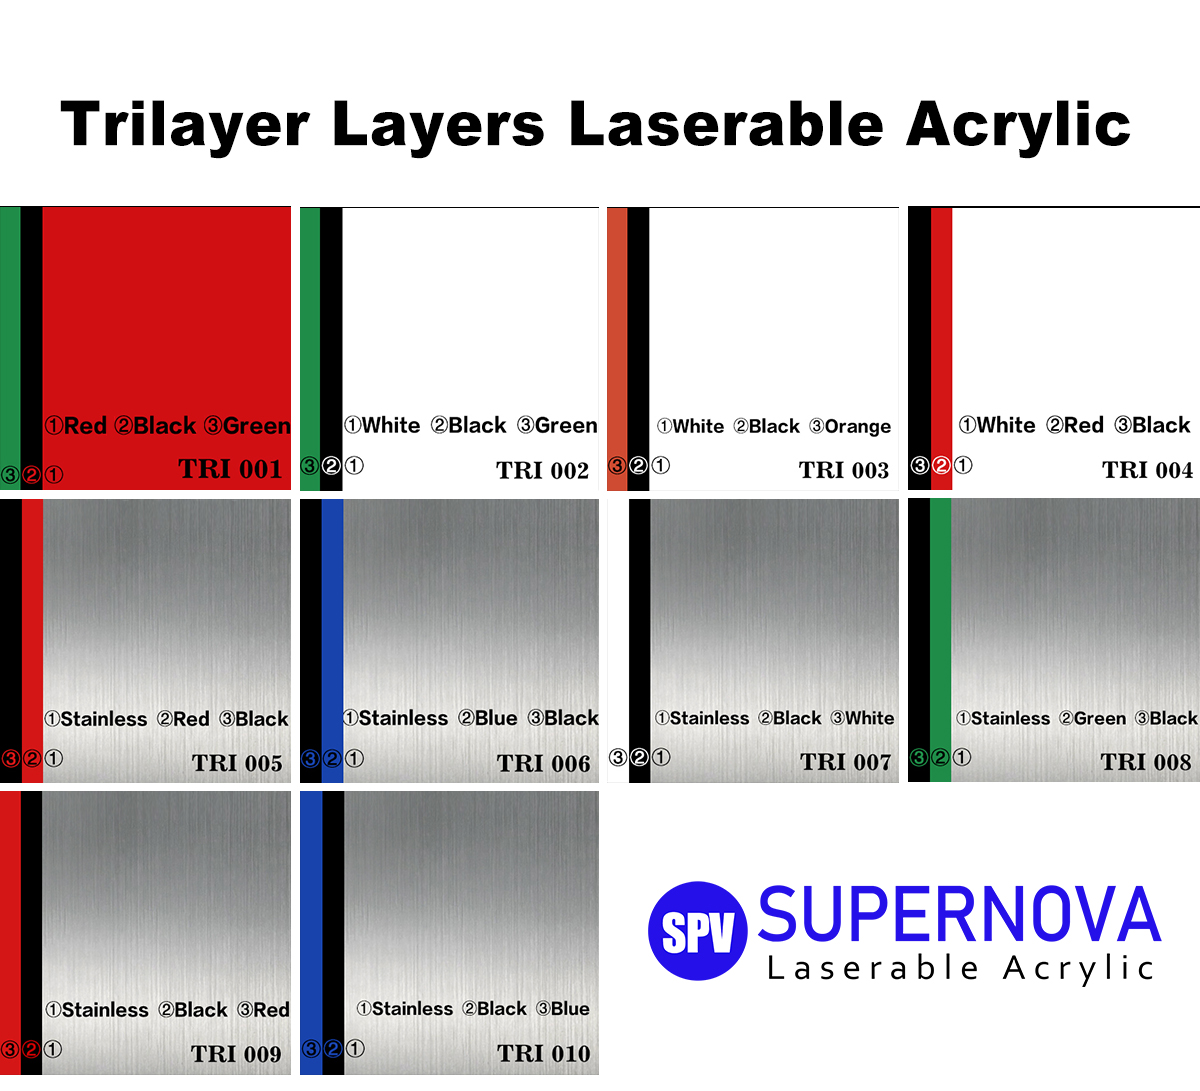 Laserable Acrylic SheetsLaserable Acrylic SheetsView Product →
A Buying Checklist Before You Lock a Blank Specification
- Ask for a physical sample or a photograph of an engraved test piece, not a rendered mockup. Contrast is the one thing you cannot judge from a product image.
- Confirm the adhesive type and, if the beam will cut through the adhesive layer, how the glue behaves at cutting temperature.
- Ask what the thickness tolerance is. Variation across batches means refocusing and retuning between shipments.
- Ask whether the top-layer colour can be customised. If a client logo needs to sit against a specific brand colour, a custom surface layer is more reliable than chasing the result with settings.
- Check how the blank behaves under a merrow edge or a stitched seam, because the layer the needle lands on decides whether the border closes cleanly or puckers.
The short version: choose the blank for contrast and consistency, choose the machine for throughput and cut quality, and never let a new material reach production without a test matrix behind it.
Most of the frustration in patch engraving comes from treating the laser as the variable to be solved. In practice the beam is the constant. It will do exactly what the material allows, no more, which is why the workshops turning out consistent work tend to be the ones who spend their first hour on blank selection and their second on a test grid. Get the material right, tune once, and the machine becomes the least interesting part of the process in the best possible way.
PREV: Laser Engraving Leather Patches: A Buyer's Guide to Blanks That Engrave Clean
NEXT: Can Faux Leather Be Laser Engraved? Yes, If You Choose the Right Material
Contact Us
Your email address will not be published. Required field are marked*
Blog
-
-
Why Choose Laser Engraved Leather Patches for High-Quality Custom Designs? When it comes to custom designs for fashion, branding, and accessories, the materials you choose play a c...
Read More -
Introduction to Laserable Leatherette What Is Laserable Leatherette? Laserable leatherette refers to a type of leatherette material engineered to respond well to laser processing, ...
Read More -
Unveiling the World of Leatherette Coasters: Beyond Basic Tableware Defining the Coaster: An Essential Home Accessory Before delving into the unique advantages of Leatherette Coast...
Read More

-
86-15851089634

-
[email protected]

-
Room 3110, Building 6, Jinrongcheng,5 Shiji Avenue, Yandu District,Yancheng City, Jiangsu Province, China

-
109#, Team 1, Longnian, Nanyang, Tinghu, Yancheng, Jiangsu, China, Zip code: 224000
- QUICK LINKS

