
 English
  Español
  Deutsch
Introduction of Leatherette Pet Collars Briefly introduce leatherette pet collars and their growing popularity. Leatherette pet collars have emerged as a dominant force in the pet ...
Read More
Laser Engraved Leather Patches: How to Choose Blanks That Engrave Cleanly
2026-10-09Laser Engraved Leather Patches: What to Buy Before the First Burn
Contrast, edge quality and reorder consistency are settled at the material stage, long before the laser fires.
A customer sends back a cap with a complaint: the logo on the patch looks washed out. Six weeks earlier, the same file on the same machine produced a deep, warm, high-contrast mark. Nothing in the laser software changed. What changed was the blank, a different supplier, a different batch, a slightly different surface finish.
That pattern explains most patch problems. Laser engraved leather patches are not printed, and they are not stamped with ink. The image is created by removing the top layer of the material so a lighter core shows through. A laser can only reproduce the contrast a blank already contains, which makes the purchasing decision as important as the artwork.
The conclusion first: specify the blank before you quote the job. Settle the material, the thickness, the texture, the edge treatment and the backing, then keep a reference swatch from every batch you buy. Everything below is about how those five decisions change the finished patch.
Leather or Leatherette: Match the Material to the Job
Both engrave well. They fail in different ways, and the failures appear at different points in the order.
Genuine leather engraves by charring, so the result depends on tannage, dye, oils and finish. A vegetable-tanned hide may burn to a warm brown; a chrome-tanned one can turn grey or almost black. Natural marks and thickness variation across a single hide mean two patches cut from different areas react differently to identical settings. That variation is a feature for one-off, hand-finished work and a liability for anyone shipping five hundred identical pieces.
Laserable leatherette is built rather than grown. A polyurethane surface sits over a lighter core, and the laser removes only the surface layer, so contrast comes from construction instead of charring. Thickness is controlled, colour is matched to a chart, and the tenth batch behaves like the first.
If you are weighing the two for a specific product line, this comparison of laser engraved leather and faux leather patches walks through the practical differences.
The laser repeats what the material allows. Consistent contrast is a purchasing decision long before it becomes a machine setting.
Why Laserable Leatherette Became the Default for Patch Production
Walk into a shop that produces patches by the thousand and you will find the same answer: layered leatherette blanks, not hides. The reasons are ordinary, and they show up at the bench.
- Contrast is predictable. The surface layer burns away and the core stays light, with no guesswork about how deeply the beam should char.
- Fine detail holds. Small type and thin rules survive because there is no grain fighting the beam at the focal point.
- Edges need less work. A cut leatherette edge is clean enough to use, while genuine leather usually needs burnishing or bevelling.
- Thickness is repeatable. Sheet stock is supplied at 1.8 mm, which keeps presses, fixtures and jigs consistent from run to run.
- Colour can be reordered. A documented colour chart beats trying to match a hide you bought last season.
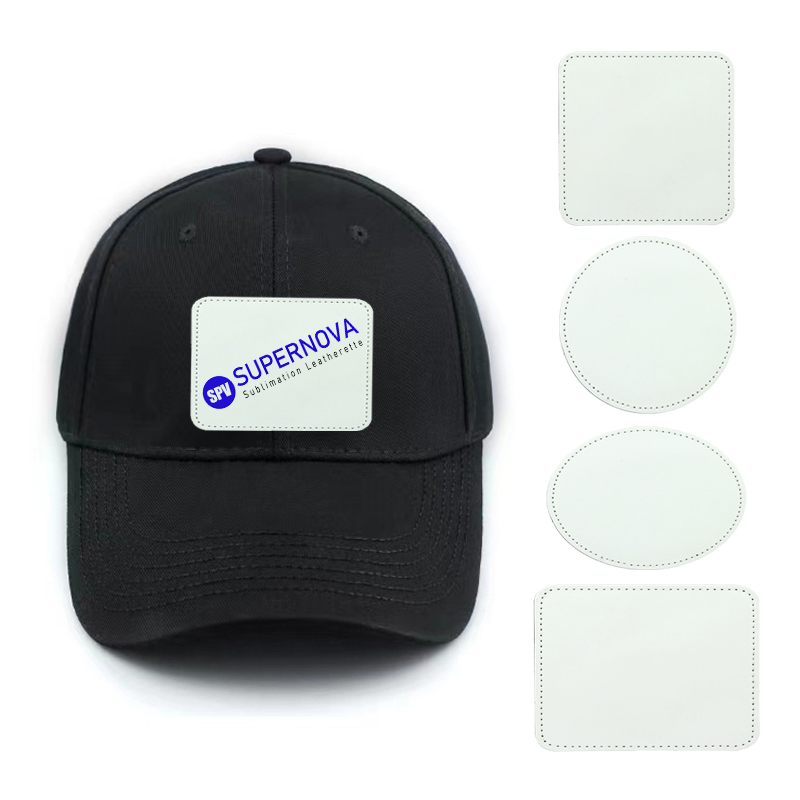
Pre-cut formats remove further labour. Rounds, squares, hexagons, ovals and rectangles arrive in 2-1/2 inch, 3 inch, 3-1/2 x 2-1/2 inch, 3 x 2 inch and 3 x 3 inch faces, most with a merrow stitched edge and an adhesive back.
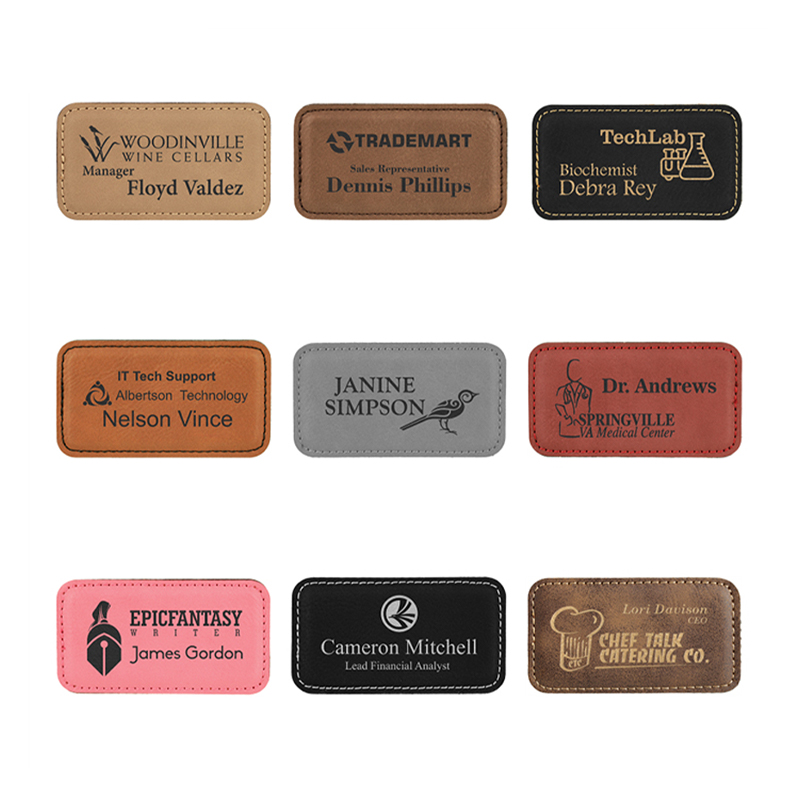
The rectangle is the workhorse of the range: logo lockups with a long company name, uniform name tapes and supplier badges all sit more comfortably in that footprint than inside a circle.
Shapes, Sizes and Edges: The Spec That Prevents Rework
A usable patch specification has five fields. Skip any one of them and it turns into a remake later: face size, shape, edge treatment, backing and surface finish. Most disputes between a buyer and a supplier trace back to a field that was assumed rather than written down.
- Face size measured on the finished patch, not the artwork file.
- Shape round, square, hexagon, oval or rectangle.
- Edge merrow stitched or raw cut.
- Backing adhesive, sew-on, or both.
- Finish smooth, embossed or metallic, plus the colour code.
| Format | Typical face size | Edge | Backing | Best for |
|---|---|---|---|---|
| Round | 2-1/2 in and 3 in diameter | Merrow stitched | Adhesive | Caps, beanies, jacket fronts |
| Square | 2-1/2 x 2-1/2 in and 3 x 3 in | Merrow or raw | Adhesive or sew-on | Bags, workwear, brand badges |
| Rectangle | 3-1/2 x 2-1/2 in and 3 x 2 in | Merrow stitched | Adhesive | Long logos and name tapes |
| Hexagon | 3-1/2 x 2-1/2 in and 3 x 2 in | Merrow stitched | Adhesive | Outdoor, motorcycle and club patches |
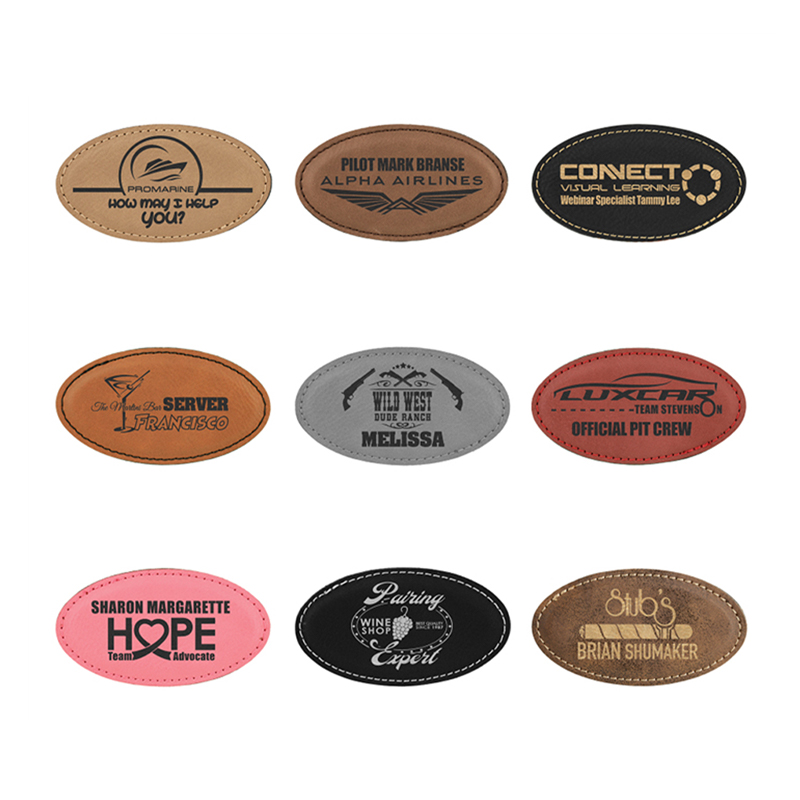
| Oval | 3-1/2 x 2-1/2 in and 3 x 2 in | Merrow stitched | Adhesive | Emblems and name plates |
| Sheet stock | Cut to your own outline | Raw | With or without adhesive | Custom shapes, prototypes, small runs |
Merrow edge or raw cut
A merrow edge is a dense overlock stitch wrapping the perimeter. It stops the edge fraying and adds a textile finish that reads as a real patch rather than a sticker. Raw cut edges are faster and cheaper, and they are the right answer when the patch is stitched inside a seam or recessed into a recess where the border never shows.
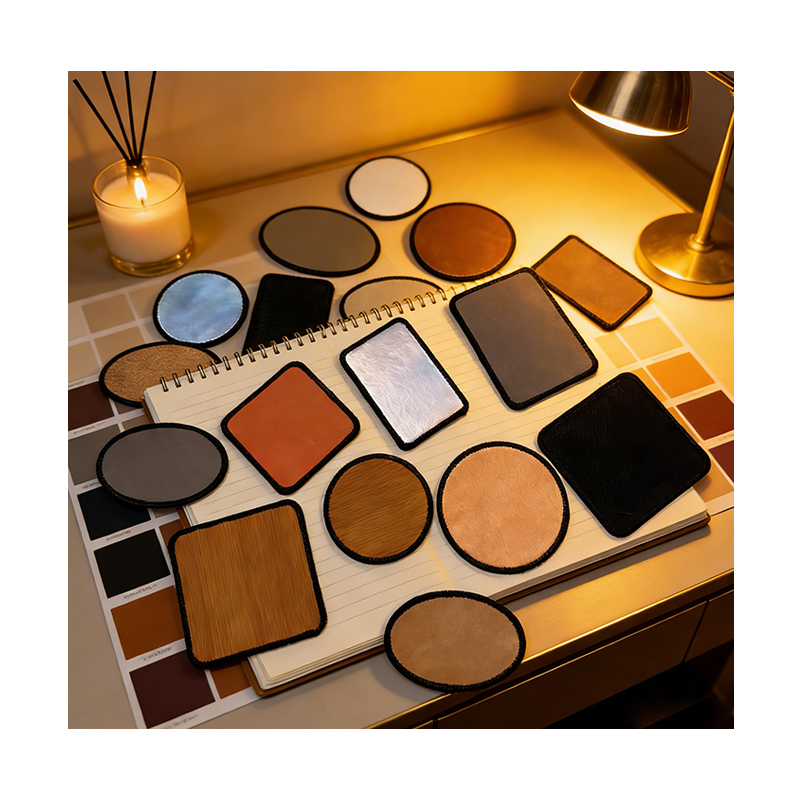 3-Inch Round Laserable Leatherette Merrow Patch with AdhesiveThis round faux leather patch has a merrow edge and adhesive backing for crisp laser engraving on hats, bags, clothes, and uniforms.View Product →
Texture and Colour: Where Contrast Is Won or Lost
Texture changes how the beam lands. A smooth matte finish gives crisp edges and clean small type, because the laser meets a flat surface and the engraved area reads as one tone. A deep emboss such as lychee, crocodile or wood grain scatters the beam across the ridges, so the same file comes out softer, with a broken edge and less definition.
Woven-look surfaces sit in the middle. Denim and canvas textures engrave with a diffuse, textile character that suits casual branding. Metallic and holographic finishes sit at the other extreme: they reflect part of the beam and can look almost white where engraved, which is dramatic on a dark base and invisible on a light one.
Test every new finish before bulk. Burn a small grid at three power levels on an offcut from the same batch, label it, and keep it with the order paperwork.
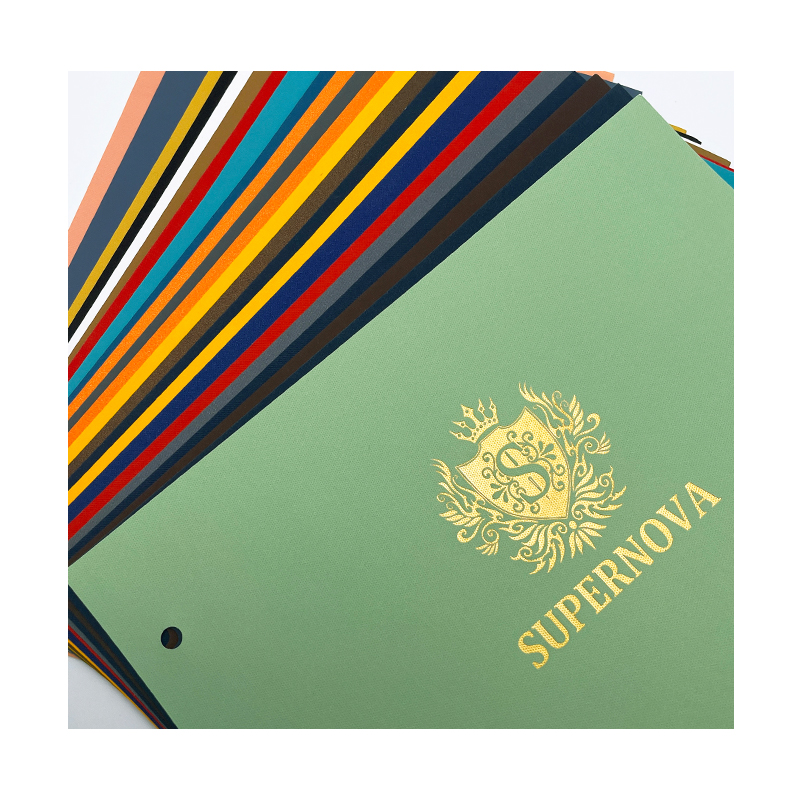
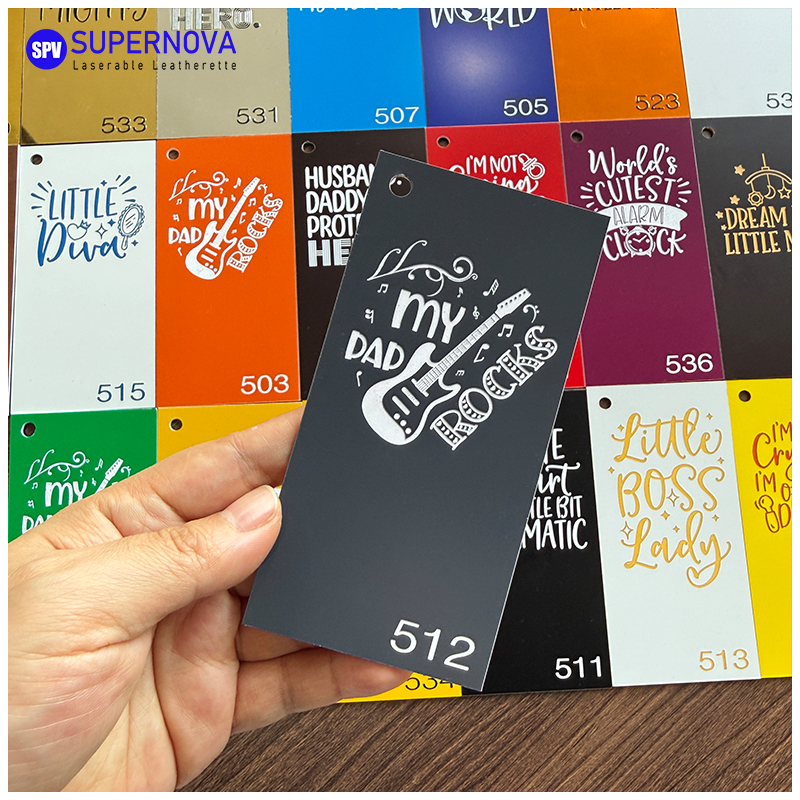
Colour direction matters just as much. Dark surfaces with light cores produce the classic branded look, where the logo appears lighter than the field. Light surfaces with dark cores reverse it, which suits minimal, modern marks. The range is wider than most buyers expect, from faux leather and heritage leather through matte vintage, denim, canvas, camouflage and metallic finishes, and it is laid out in full on the leatherette colour chart.
Leatherette is not the only option. Golden laser engraving paper fires to a metallic gold mark on coloured stock, and laserable acrylic sheets in single, dual-layer and triple-layer constructions give hard two-tone badges where a plastic finish is wanted instead of a stitched patch.
When the shape itself is the design, sheet stock is the flexible route. A 1.8 mm laserable sheet, with or without adhesive backing, lets you cut any outline, which is how most custom-shaped patches start life before they move to a pre-cut format.
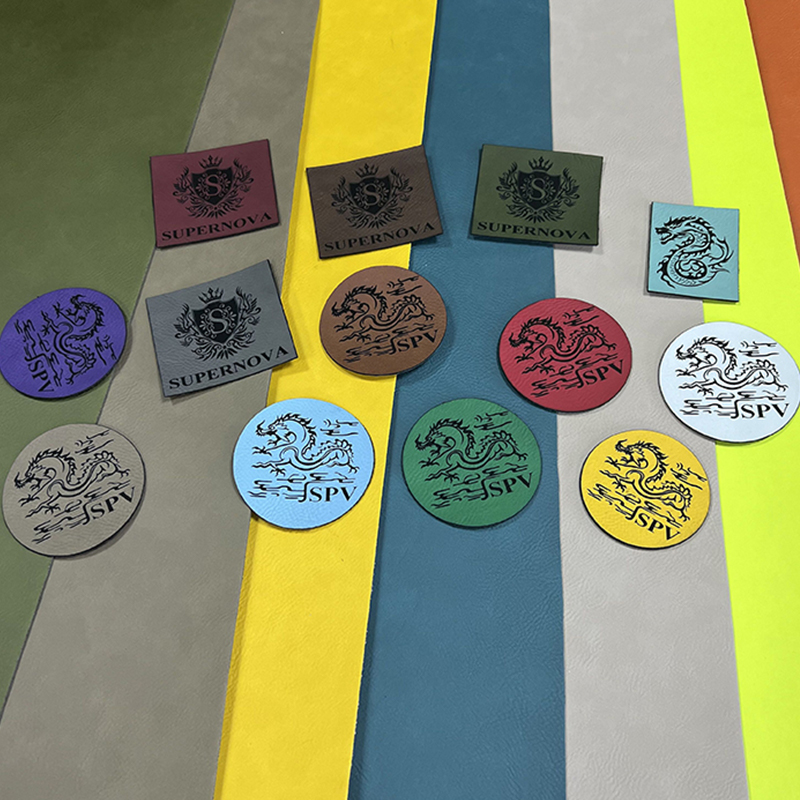 1.8mm Laserable Leatherette Sheet Stock with Optional AdhesiveThis faux leather sheet stock comes in 1.8mm thickness with or without adhesive, suited for cutting custom outlines for wallets, clutches, and journal covers.View Product →
Engrave, Score or Cut Through: Setting Up the Pass
Two operations happen on the same machine and they need different settings. Engraving removes only the surface layer; cutting separates the patch from the sheet. Running one aggressive pass for both is the fastest route to a blurry mark and a burnt edge.
- Test on the batch, not the shelf. A new delivery can need a small adjustment even when the colour code matches.
- Engrave as lightly as contrast allows. A deeper burn does not add contrast; it adds a halo and slows the job.
- Mask before cutting through. Transfer tape keeps vaporised adhesive off the face of the patch.
- Use air assist. It clears smoke so a grey film does not settle back onto the engraved surface.
- Clean finished patches with water and mild soap. Solvents can dull the surface layer around the mark.
Adhesive changes the cut. Cutting through a sticky backing produces residue, extra smoke and a tacky edge. Mask the back, cut at the lowest power that separates cleanly, and clean the bed before the next run.
Washing, Ironing and Sunlight: Real-World Durability
Because the mark is engraved into the material rather than printed on top of it, there is no ink layer to crack, peel or fade at the edges. The exposed core is the image. That single fact answers most of the durability questions buyers raise before a first order.
- Repeated washing is fine on its own, because the engraved area is not a coating that can flake.
- Heat-pressed adhesive holds well on flat, stable fabric; on garments washed weekly, add a perimeter stitch.
- Ironing should never touch the engraved face directly; press from the reverse side or through a cloth.
- Sunlight can shift very light cores slightly over long outdoor exposure, while darker finishes hold their tone.
- Abrasion wears high-contact areas such as straps and cuffs faster; a merrow edge protects the perimeter, not the centre.
For workwear, do both. Adhesive plus a perimeter stitch costs a few seconds per piece and removes the single most common field failure.
Ordering Blanks Without Surprises
Most of the risk in a patch order sits in purchasing, not production. Six details are worth writing into the specification before the purchase order goes out.
- Colour consistency across batches, including how a reorder placed months later will be matched.
- A physical sample that has already been engraved, not a flat colour chip.
- Adhesive grade, since the backing that suits cotton canvas is not always right for coated nylon.
- Thickness tolerance, because a fraction of a millimetre changes how a patch sits in a hat press.
- Packaging that arrives flat and uncreased; a fold in a patch is scrap.
- Lead time and minimums checked against your own reorder cycle, not just the first order.
Suppliers who publish a working colour chart and an annual catalogue make this easier, because the specification you approve is the specification you can order again next season.
The short version: the blank is the design decision. Pick the material for the job, match the edge and the backing to the way the patch will actually be worn, test every new finish on an offcut, and keep one reference swatch per batch. Do that, and the laser stays the easiest part of the job.
PREV: No previous article
NEXT: Laserable Leatherette Wholesale: A Buyer's Guide to Sheets, Patches, and Blanks
Contact Us
Your email address will not be published. Required field are marked*
Blog
-
-
Why Choose Laser Engraved Leather Patches for High-Quality Custom Designs? When it comes to custom designs for fashion, branding, and accessories, the materials you choose play a c...
Read More -
Introduction to Laserable Leatherette What Is Laserable Leatherette? Laserable leatherette refers to a type of leatherette material engineered to respond well to laser processing, ...
Read More -
Unveiling the World of Leatherette Coasters: Beyond Basic Tableware Defining the Coaster: An Essential Home Accessory Before delving into the unique advantages of Leatherette Coast...
Read More

-
86-15851089634

-
[email protected]

-
Room 3110, Building 6, Jinrongcheng,5 Shiji Avenue, Yandu District,Yancheng City, Jiangsu Province, China

-
109#, Team 1, Longnian, Nanyang, Tinghu, Yancheng, Jiangsu, China, Zip code: 224000
- QUICK LINKS

