
 English
  Español
  Deutsch
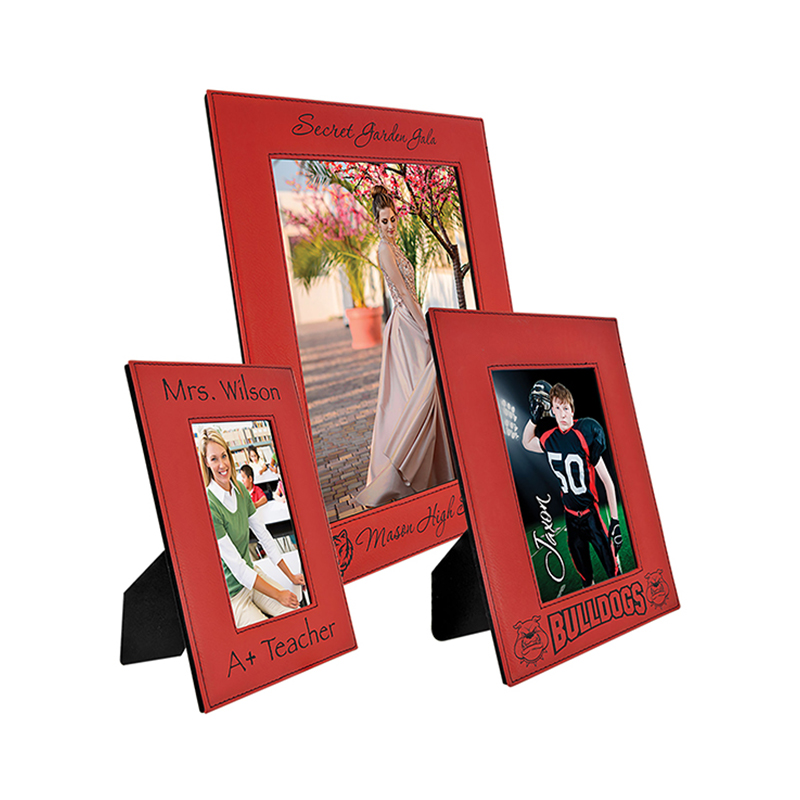
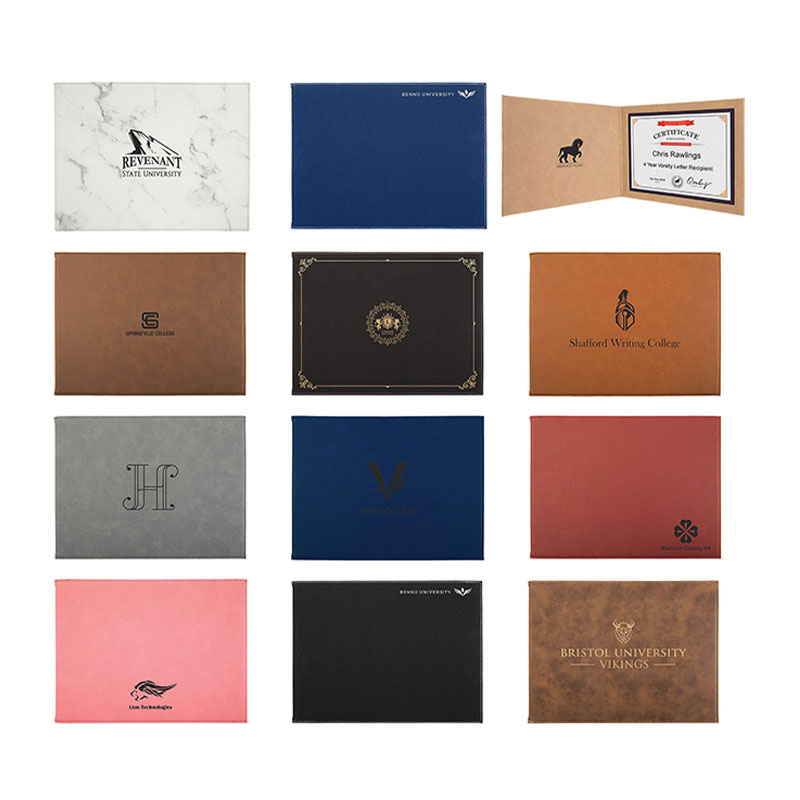
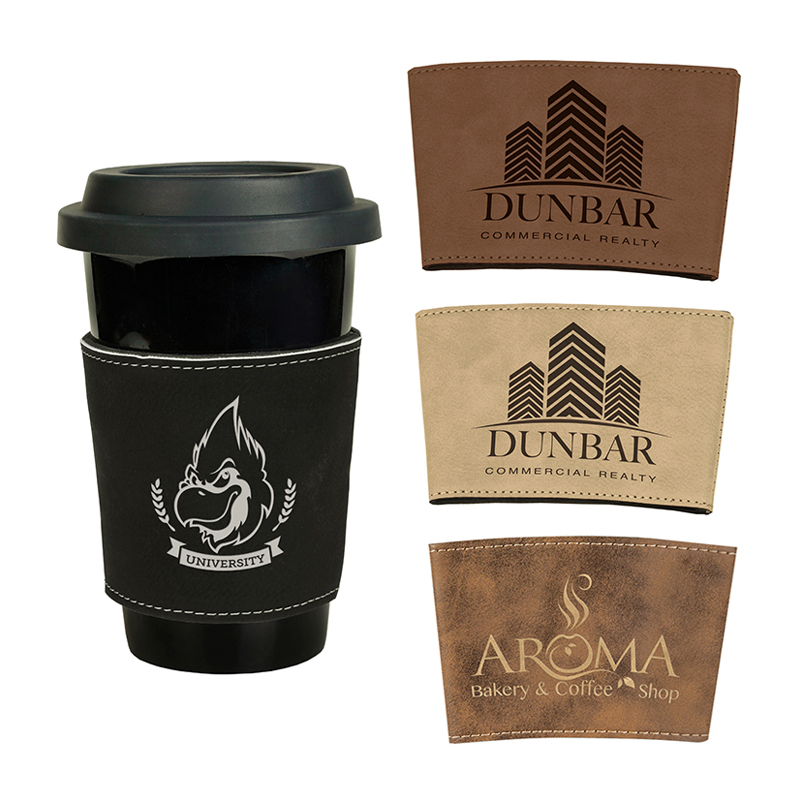
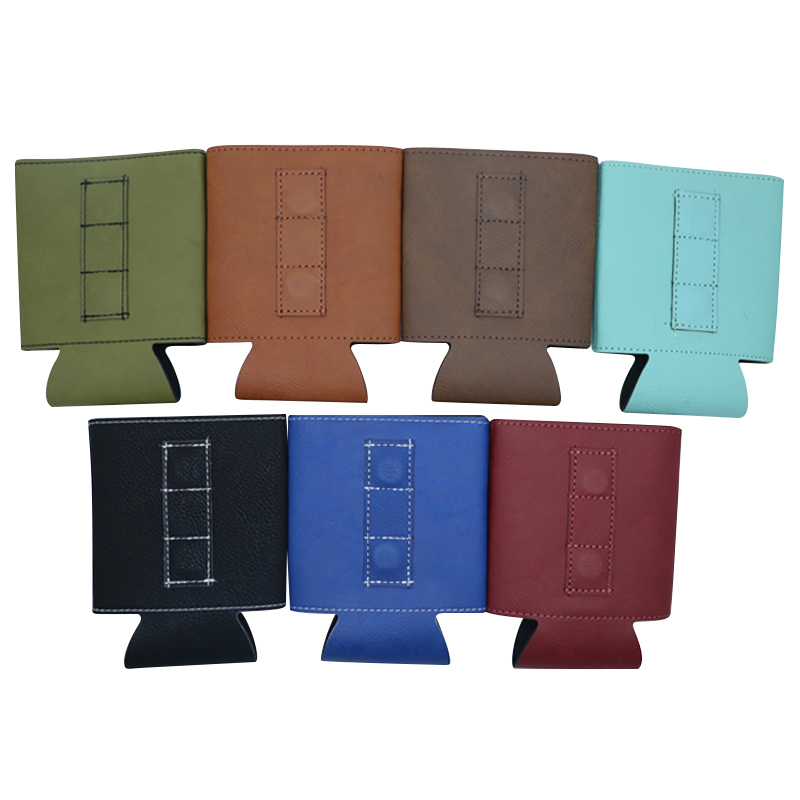
Introduction of Leatherette Pet Collars Briefly introduce leatherette pet collars and their growing popularity. Leatherette pet collars have emerged as a dominant force in the pet ...
Read More
Embroidery on Laserable Leatherette Sheet Stock: Settings, Threads and Design Tips
2026-08-18An embroidery shop receives an order for 200 personalised leatherette bag tags with a stitched monogram and a laser-engraved logo. It looks like two production steps from two different industries. In practice, both can be done on the same laserable leatherette sheet stock, and the material is one of the most forgiving substrates for combining needlework and laser engraving. The result depends on four decisions you make before the machines start: which sheet to buy, which needle and thread to mount, which stabilizer to use, and whether to engrave before or after stitching.
Why Laserable Leatherette Sheet Stock Works under the Needle and the Beam
Laserable leatherette is a polyurethane-based sheet with a coating engineered to darken when heated by a CO2 laser. The engraving is not a printed layer sitting on top; it is a controlled colour change in the material itself, so the mark stays part of the sheet. Supernova developed this type of leatherette blank back in 2016 and has been manufacturing it in-house with a production team of more than 300 people. For an embroidery business, the important part is predictability.
Real leather has natural grain, fat deposits, and thickness variations. That can cause skipped stitches and uneven laser depth. Laserable leatherette sheet stock is manufactured in consistent batches, with uniform thickness and a smooth, dense surface. The needle meets the same resistance from one piece to the next, and the laser engraves at the same depth across the whole run. If you are doing low-volume custom work or production lots, that consistency is what makes setup repeatable.
Matching the Sheet to the Job
The key purchasing decisions for combined embroidery and laser work are thickness, surface texture, and whether the sheet has an adhesive backing.
- Thickness. Standard laserable leatherette sheets are easy to cut and flexible, which suits patches, coasters, and lightweight accessories. A 1.8 mm laserable leatherette sheet with or without adhesive
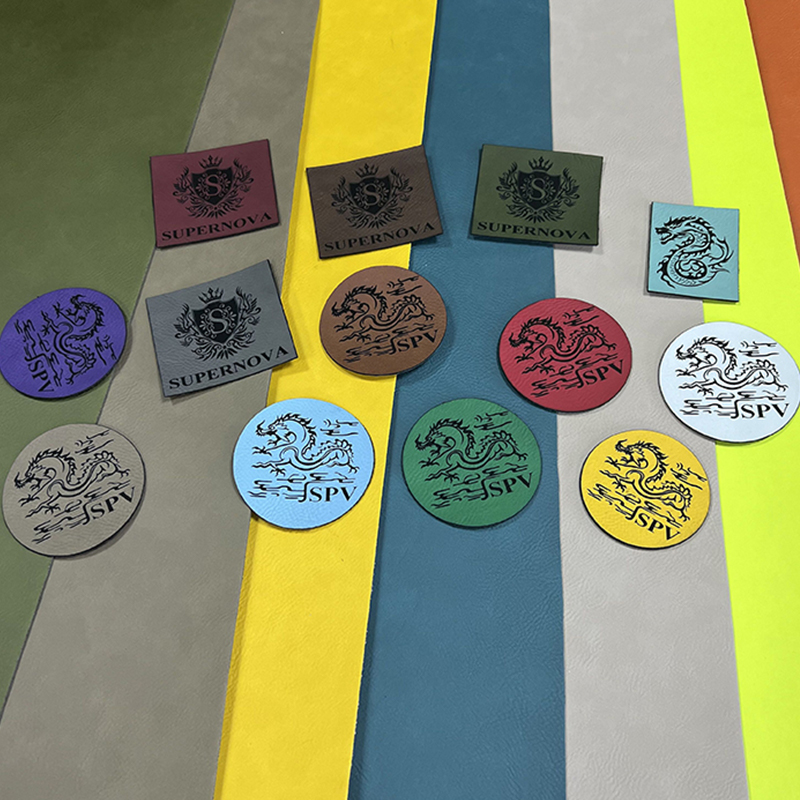 OEM/ODM 1.8mm laserable leatherette sheets with adhesive/without adhesive SuppliYancheng Supernova Digital Science & Technology Co., Ltd. is China OEM/ODM 1.8mm laserable leatherette sheets with adhesive/without adhes...View Product → holds dense embroidery better, resists puckering, and gives bag tags and book covers a firmer, more premium hand feel.
 - Texture. Smooth and matte-vintage surfaces produce crisp engraving and allow fine thread detail. Heavy textures such as crocodile or denim hide light stitch shadow and give a more decorative look, but they need a little more laser power because the beam must reach into the embossed valleys.
- Adhesive backing. Sheets with adhesive can be mounted onto a temporary carrier or a cut-away stabilizer without hooping, which avoids hoop burn marks and keeps the material flat for both embroidery and laser registration.
For everyday production, the standard laserable leatherette sheets with adhesive or without adhesive are a safe starting point.
 OEM/ODM laserable leatherette sheets with adhesive /without adhesive Suppliers, Yancheng Supernova Digital Science & Technology Co., Ltd. is China OEM/ODM laserable leatherette sheets with adhesive /without adhesive s...View Product →
| Sheet type | Best for | Embroidery note | Laser note |
|---|---|---|---|
| Smooth sheets | Logos, small lettering, patches | Stable surface, low needle friction | Crisp, high-contrast detail |
| Textured sheets | Fashion items, decorative covers | Texture helps hide stitch lines | Use slightly higher power for valleys |
| 1.8 mm sheets | Bag tags, book covers, portfolios | Less puckering under dense stitch | Slightly slower speed or higher power |
Needle, Thread, and Stabilizer Choices
Leatherette is not woven fabric, so the needle has to cut its own path rather than slide between fibers. A sharp-point needle in size 75/11 or 90/14 works best; a ball-point needle designed for knits can push the coating down instead of piercing it, which causes skipped stitches.
Use a 40-weight polyester thread for most work. Polyester has enough elasticity to move with the sheet, and it resists abrasion at the edge of an engraved area. Very thick threads, especially those with a cotton core, sit too proud of the smooth surface and have nowhere to sink in.
For stabilizer, give the sheet a stable base and a clean top. Cut-away stabilizer suits dense designs, while tear-away works for letters and open line work. A water-soluble film on top prevents the presser foot from leaving drag marks and keeps satin stitches from sinking into the coating. Slow the machine slightly for small lettering, because dense stitches can distort a PU surface more than cotton fabric.
Should You Laser First or Embroider First?
The short answer: engrave first, then embroider. Laser engraving produces fine particulate residue and heat, and it removes a thin layer of the surface. If you engrave after the embroidery, the beam can darken or singe the thread at the edge of the design, and residue settles into the threads. Engraving first keeps the stitched areas clean.
Engraving first has a second advantage: the engraved lines become registration marks. You can align the hoop by eye, using the engraved text or logo as a guide. This works especially well with adhesive-backed sheets because the sheet stays in the same position once you attach it to a carrier.
The main argument for embroidering first is when the engraving position must be exact relative to the stitches. In that case, embroider first, then use a simple acrylic jig with a printed template to hold the sheet under the laser. Keep laser power moderate: the goal is a dark colour change, not a deep cut, so test a corner and increase power only until the contrast is strong.
A Workflow for Production Runs
- Prepare vector files for the laser and stitch files for the machine, and check that the engraved area leaves a safe margin around dense stitches.
- Cut the sheet slightly larger than the final piece, or mount a full sheet on a carrier with the adhesive backing facing down.
- Stabilize the sheet with cut-away or tear-away backing and a water-soluble top film.
- Laser engrave the design, using low power and a moderate speed, and then wipe the surface with a dry lint-free cloth.
- Hoop or re-mount the sheet, align the needle with the engraved reference marks, and embroider the stitched parts.
- Trim the piece to final shape, remove the stabilizer, and peel the protective film if the sheet has one.
Run a sample piece through both machines before starting a batch. Record the power setting, speed, needle size, thread weight, and stabilizer type. Once you have a combination that gives clean engraving and even stitching, you can reproduce it on the next order, which matters more than any single trick.
What You Can Produce with Both Processes
The combination of embroidery and laser engraving changes the kind of products a small workshop can offer. Bag tags, keychains, and pet collars can carry a stitched name and an engraved logo side by side. Journal covers, bookmarks, and notebook holders take dense decorative stitching with an engraved title on the front. Coasters, gift boxes, and name badges become higher-value items when they combine both techniques.
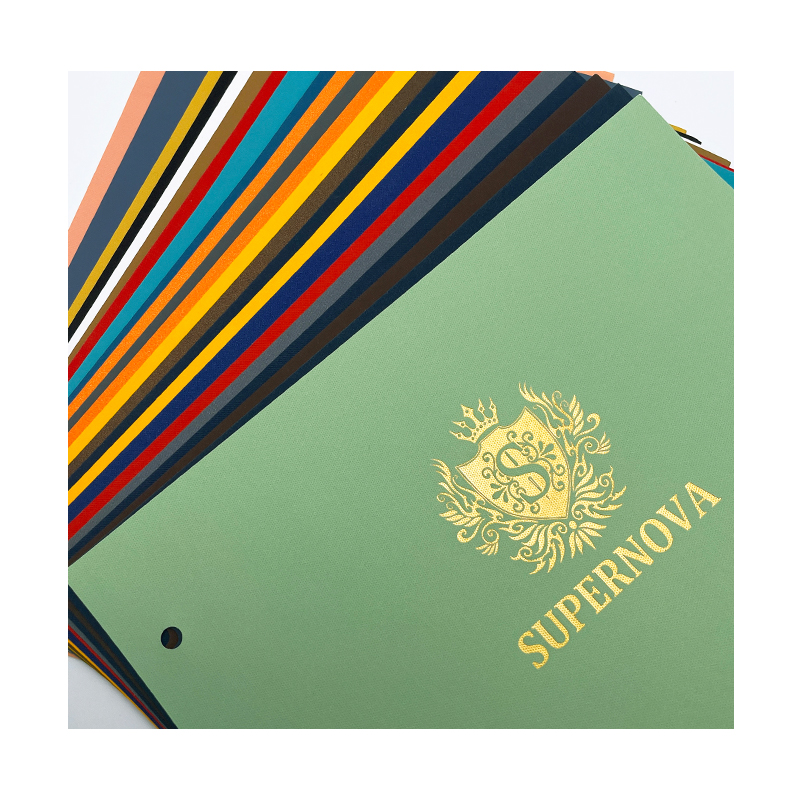
For fashion-led products, a crocodile embossed laserable leatherette sheet with adhesive or without adhesive gives a distinctive textured surface that hides stitching shadows and adds a premium look without genuine leather costs. Custom colour requests can be handled through the supplier's leatherette colour chart, which is useful when a client expects a specific brand colour.
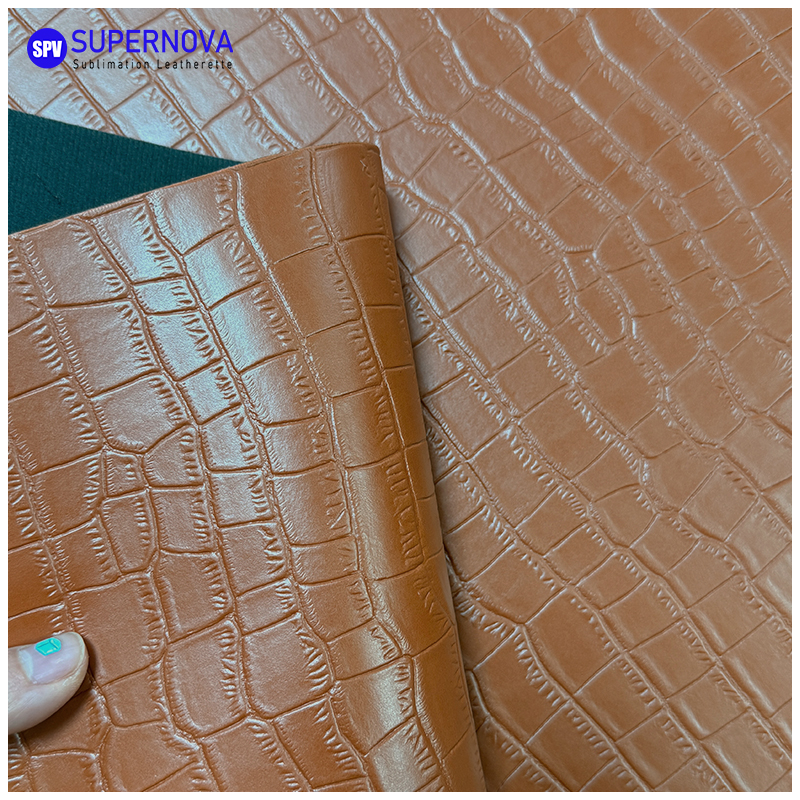 OEM/ODM Crocodile Embossed Laserable Leatherette Sheet with adhesive/without adYancheng Supernova Digital Science & Technology Co., Ltd. is China OEM/ODM Crocodile Embossed Laserable Leatherette Sheet with adhesive/...View Product →
Laserable leatherette sheet stock is a dependable base for embroidery because it combines the hand feel of leather with the uniformity of a manufactured sheet. Start with standard sheets to validate your needle, thread, and stabilizer settings, use the engraved marks to align your stitching, and only then move to textured or thicker options. Browse the laserable leatherette sheet stock collection to see the available thicknesses, backings, and textures, and order samples before you quote a production price.
PREV: Laserable Leatherette Sheets with Adhesive: The Buyer's Guide to Engraving
NEXT: Sublimation Printing Materials: How to Choose the Right Blanks for Consistent Results
Contact Us
Your email address will not be published. Required field are marked*
Blog
-
-
Why Choose Laser Engraved Leather Patches for High-Quality Custom Designs? When it comes to custom designs for fashion, branding, and accessories, the materials you choose play a c...
Read More -
Introduction to Laserable Leatherette What Is Laserable Leatherette? Laserable leatherette refers to a type of leatherette material engineered to respond well to laser processing, ...
Read More -
Unveiling the World of Leatherette Coasters: Beyond Basic Tableware Defining the Coaster: An Essential Home Accessory Before delving into the unique advantages of Leatherette Coast...
Read More

-
86-15851089634

-
[email protected]

-
Room 3110, Building 6, Jinrongcheng,5 Shiji Avenue, Yandu District,Yancheng City, Jiangsu Province, China

-
109#, Team 1, Longnian, Nanyang, Tinghu, Yancheng, Jiangsu, China, Zip code: 224000
- QUICK LINKS

